My everyday commuter is a Montague Boston, a simple, lightweight singlespeed that can take a beating and keep rolling. Riding through a winter in New England takes a serious toll on a bicycle and this one has been through two. The constant moisture, sand, and road salt, pretty much guarantee that anything that can rust, will rust, and anything that can wear out, will wear out. My Boston has been in serious need of an overhaul, and the time is now. The chain is rusted and stretched, the bottom bracket bearings are anything but smooth, and even the brake cables and calipers are corroded. These are things that will eventually need replacing on any bicycle that gets a lot of miles, but riding every day through snow, rain, and bad road conditions, will seriously speed up the decline.
I’ve been riding a (mostly) stock Montague Boston, but I’m going to use this opportunity to rebuild this bike as a truly custom ride. Since Montague bikes use all standard components, they’re the only folding bikes on the market that can be fully customized with any aftermarket components you want. Montague is even offering frame sets for 2013, so you can start with a blank canvas and build your dream bike.
Let’s start by stripping the parts and giving the frame a thorough cleaning.
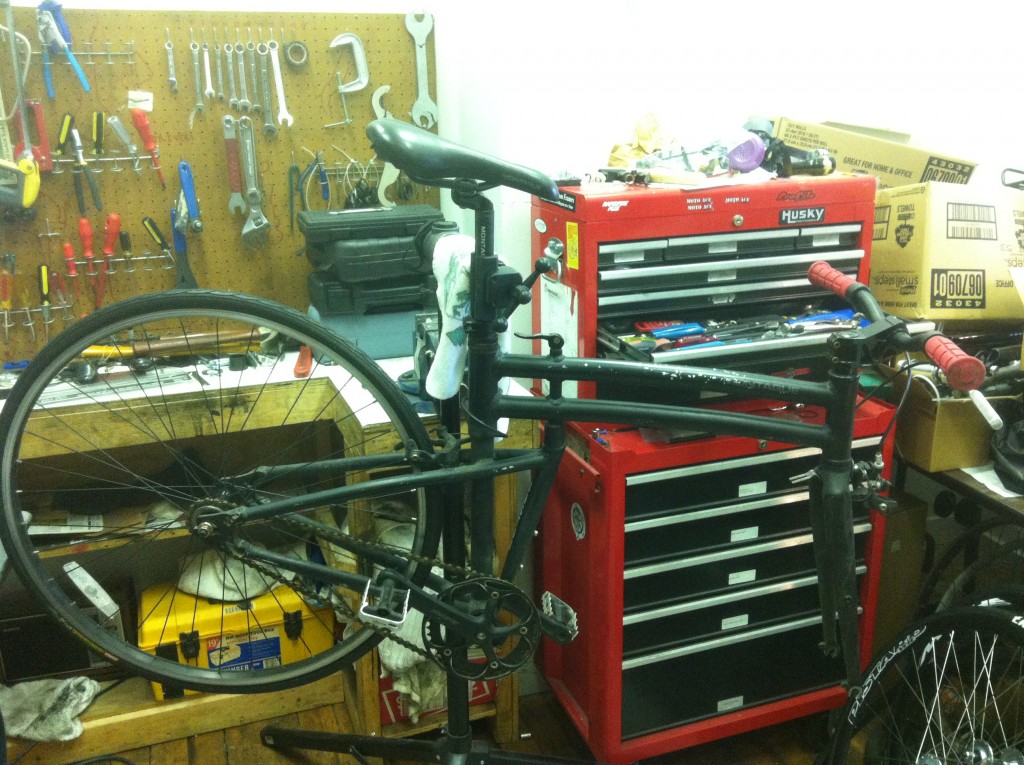
As you can see, this drivetrain has seen better days:
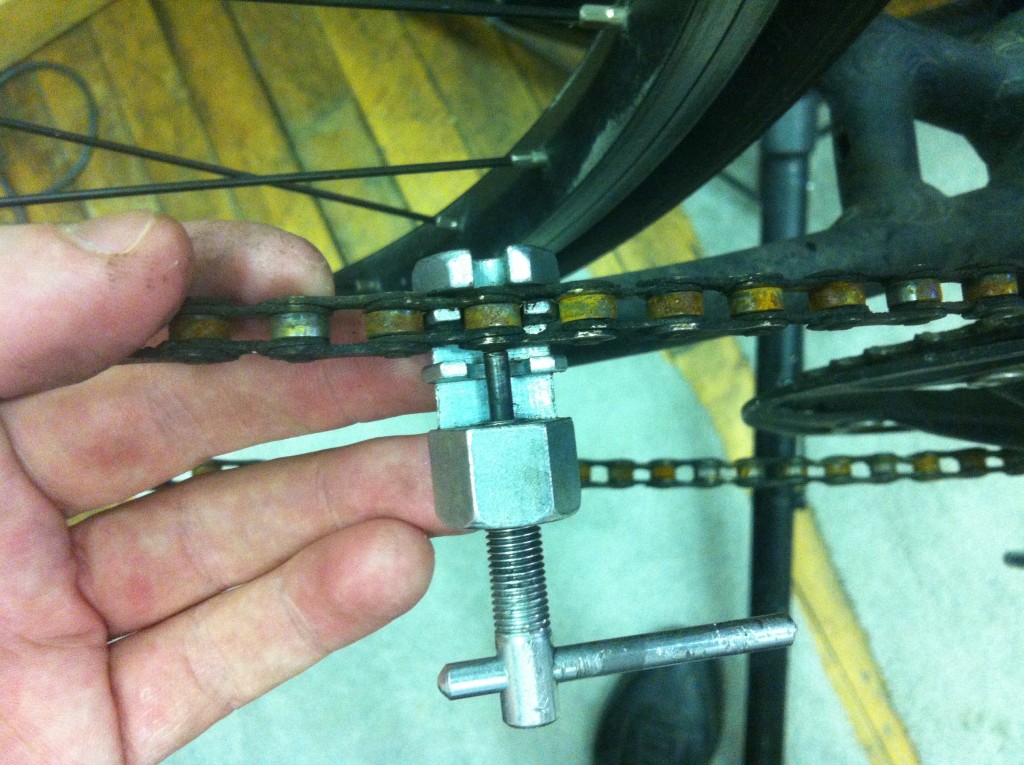
Let’s pull it apart. Start by breaking the chain. This one is toast and is going straight to the trash:
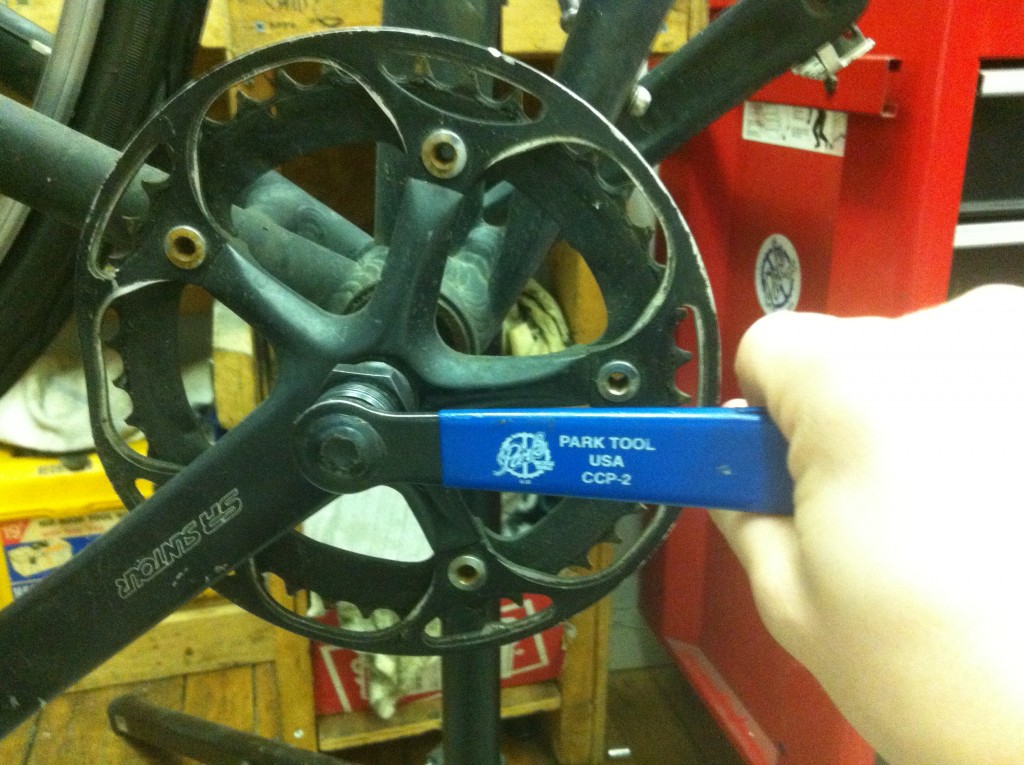
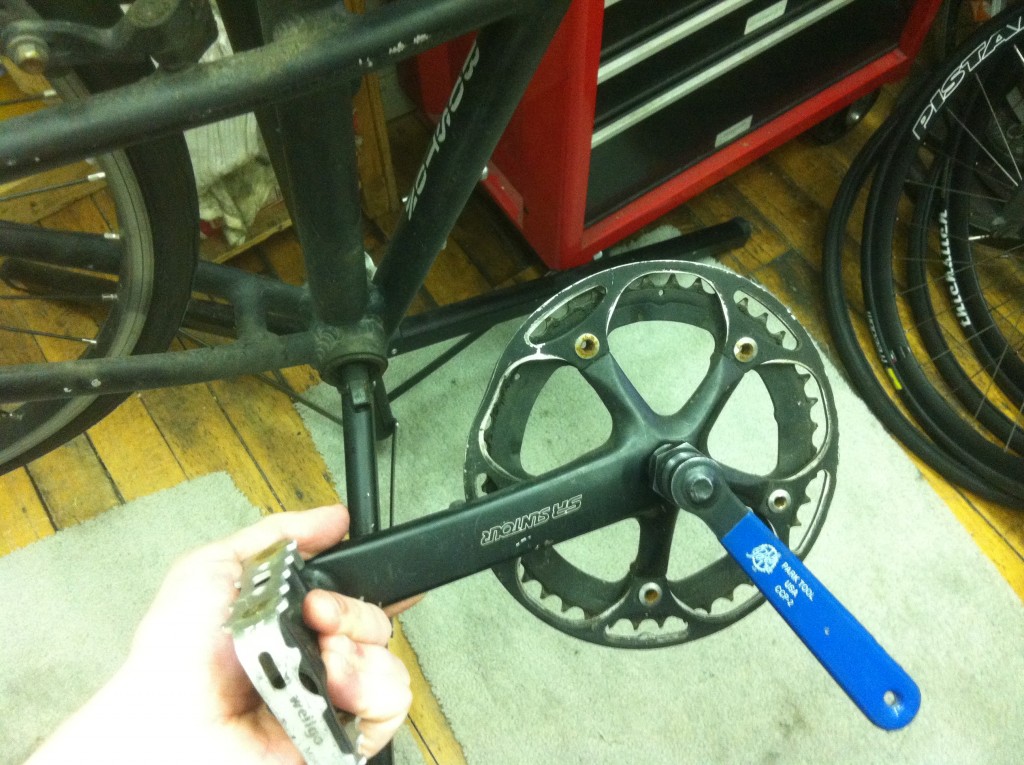
Now let’s get that beat up crankset off. You’ll have to remove the crank bolt first. This will require either a 5/16 allen wrench, or a 14mm socket. The crank arms are press fit onto the bottom bracket spindle, so once you get the bolt out, you’re going to need a crank puller to get the arms off:

One of a few specialty tools I’ll be showing you, a crank puller is worth having if you plan to service your own bikes.
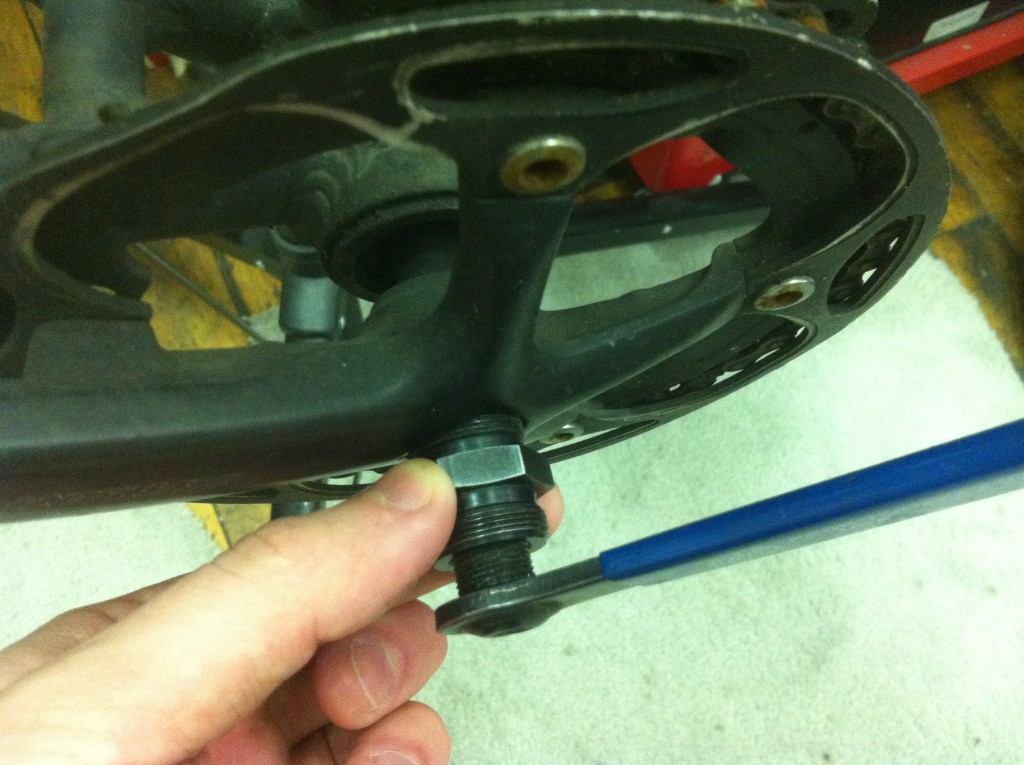
The outer nut of the crank puller threads into the crank arm:
Once the nut is securely threaded in, turn the arm of the crank puller clockwise. As you do, it threads into that outer nut and pushes against the bottom bracket spindle. Since the nut is securely attached to the crank arm, this pushes the whole assembly away from the spindle.
Once you break that initial snug fit, it will slide right off:
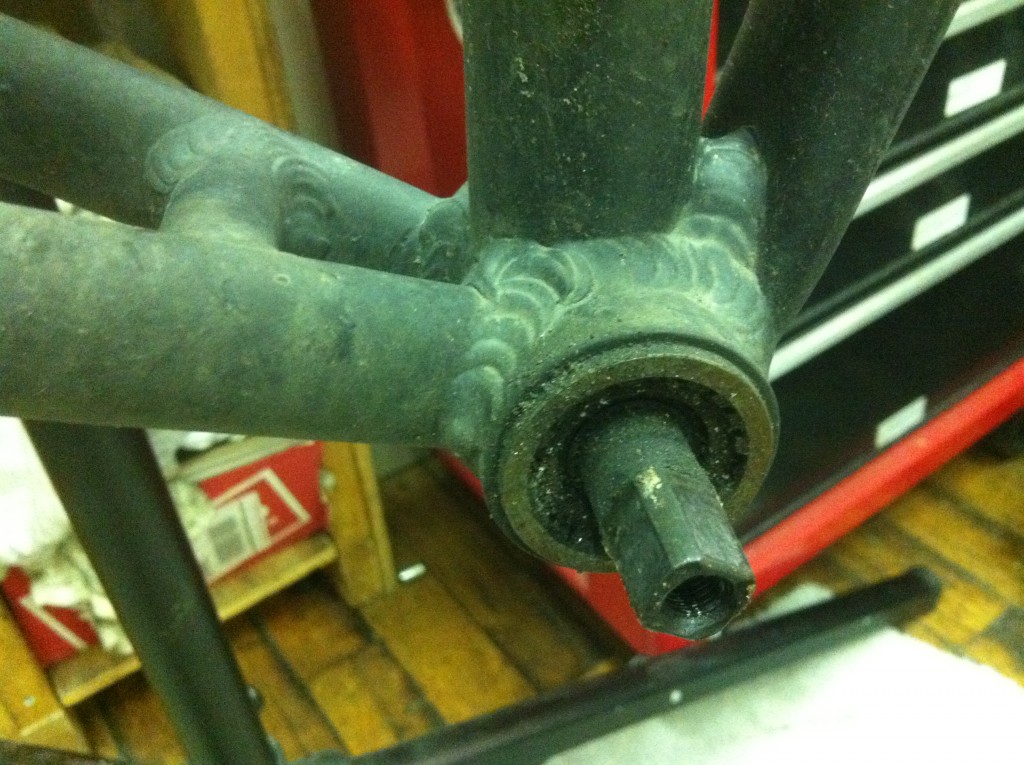
Leaving you with just the spindle of the bottom bracket:
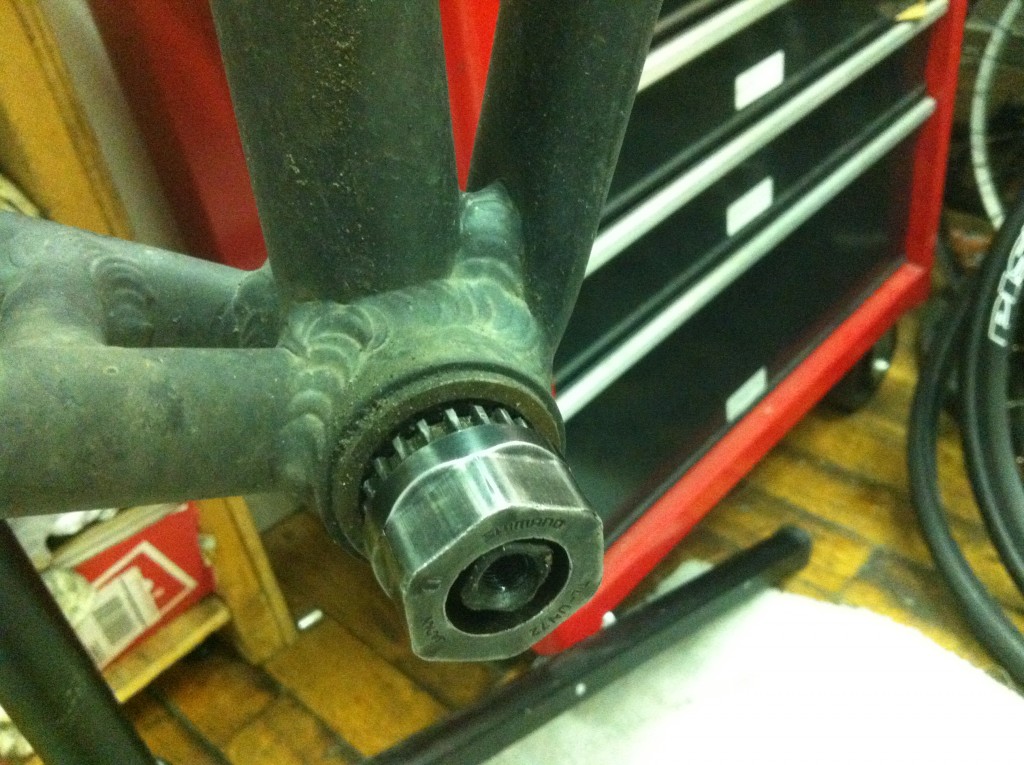
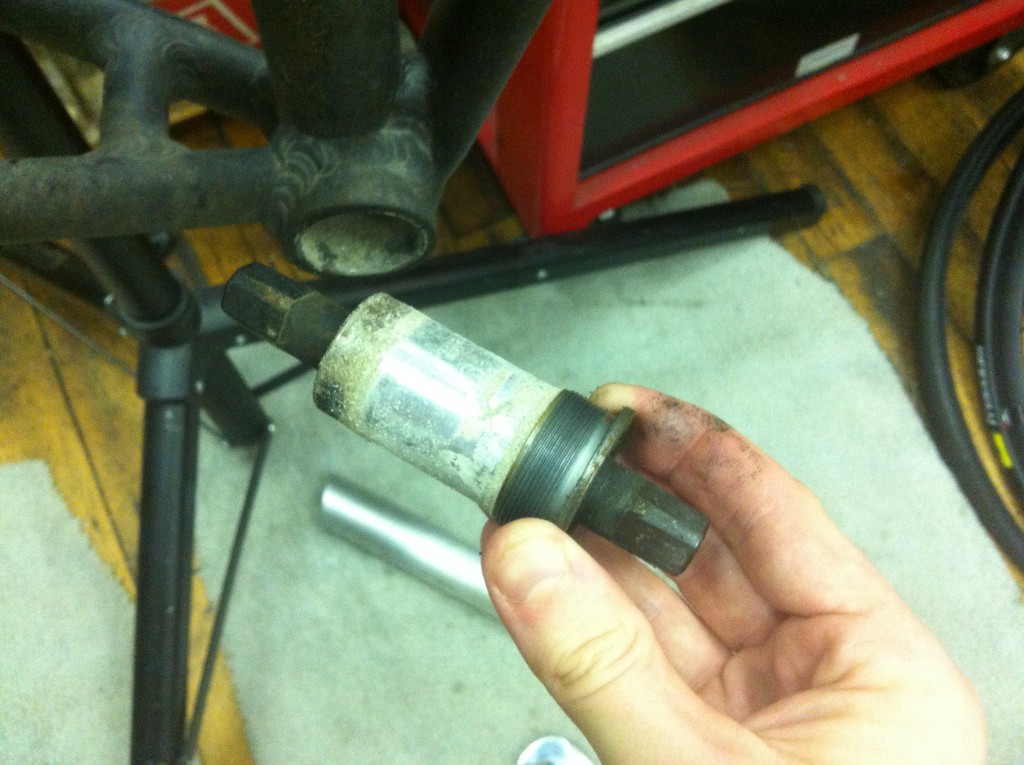
To remove the BB, you’re going to need a Shimano bottom bracket tool. You can just barely tell (because it’s so dirty) but the bottom bracket cups have a series of grooves to allow this splined tool to lock in:
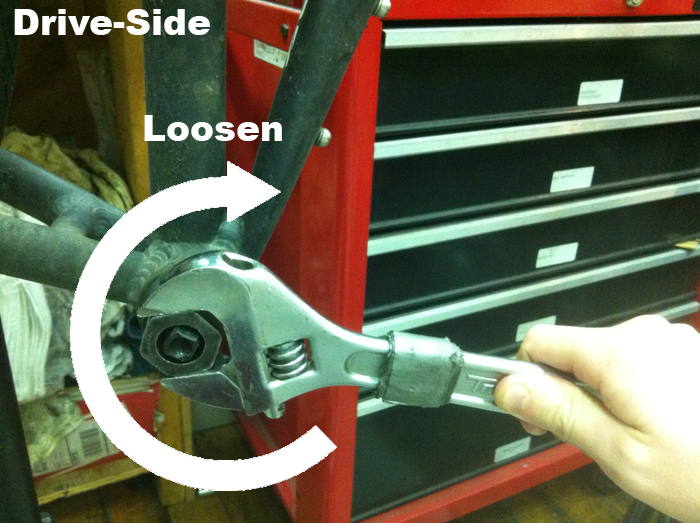
Now it’s very important to remember, the drive side bottom bracket cup is reverse threaded. That means you have to turn the cup clockwise, to loosen it. This is done to prevent the cup from naturally loosening over time through a process called precession (physics!). The non-drive side cup is threaded normally, so turn that one counterclockwise to loosen it.
The bottom bracket is right down near the road so it’s always getting hit with water and road grime. It’s not uncommon for it to end up completely seized in the frame. I had to use a 2 foot pipe over the wrench to get some extra leverage. If it’s really stuck, you can clamp the bb tool in a vise, and turn the entire frame to get some leverage. I did manage to free it, and I’m dreaming about some smooth, new bearings…
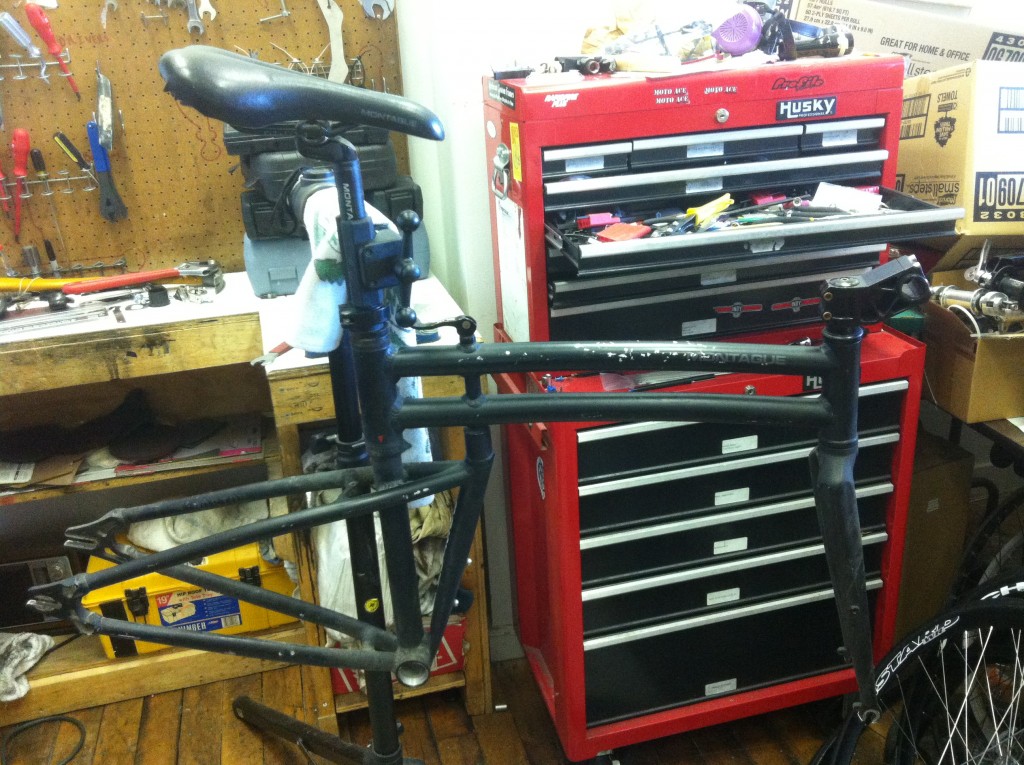
I proceeded to remove the handlebars, brake calipers, and cables, and thoroughly cleaned the frame and bottom bracket threads. I don’t have a picture of that process, but I assume you have some experience cleaning things (I hope). If you’re dealing with serious gunk, you can use some WD-40 as a degreaser. It works great for that, just don’t use it as a lubricant on your bike. Next time, we’ll pull apart the headset, re-grease it, and take a look at some new components (the exciting part).



It’s really a nice and helpful piece of info. I am glad that you shared this with us. Please keep us up to date like this.
The folding mechanism on my Boston is pretty rusted up. What’s the best way of taking everything apart, cleaning it up, and it is possible to order spare parts?
We don’t recommend taking the frame apart, but it is possible. Depending how old your bike is there are either two large lock nuts, or a clamp near the top of the seat tube. Removing them would allow access to the frame bushings. I’d probably recommend having a bike mechanic work on it though. Send us an email to info@montaguebikes.com if you have more in depth questions.
Hi, my Boston has just had the frame replaced (Thanks!) but I was told the front gear was pretty worn. Unfortunately the shop didn’t have a replacement front gear, and suggested I go to the interwebs to find one.
I can see from the web site it’s a 42t and I can see from photos and my bike it as 5 bolts, but what are the exact dimensions? And can I just replace the gear without having to replace the whole crankset?
Thanks in advance,
Cullen
Hey Cullen. You can certainly get just a chainring without replacing the whole crankset. A five bolt ring with a Bolt Circle Diameter of 130mm should be perfect.
Thanks!
Hi,
I own a 2016 Highline, very pleased with it!
Thinking about replacing the crankset, what size is the crank arm and bottom bracket? My guess is 175mm with an 83mm BB – how close am I?
The crank arm length is 175 and uses 38 and 24 tooth chainrings. The bottom bracket shell is 68mm english threaded and uses 113mm spindle length. The stock setup is an Octalink splined spindle (Shimano BB-ES300), but if you’re changing the crank as well then you could use a different interface.
Hi there!
Is it possible to swap out the entire groupset to 2×12? as much as I’ll lament the loss of my 3rd gear, alot of high-tier industry parts are going towards 2x groupsets, and I really want to soup up my paratrooper. Also, the new Shimano XTR is looking pretty appetizing. I’m aware that it woukd take alot of part-swapping and probably a couple visits to a good bike shop, but if it’s possible I’d like to know, because I’d like to try.
Hi Jonathan. You can certainly put a new crankset on your Paratrooper, either single or double chainring, as long as it uses a 68mm english threaded bottom bracket. Installing a 12 speed cassette would require a new wheel, but it could be done. The new hub just needs an overlocknut dimension (hub width) of 135mm.
Would that be a new rear or front wheel? and if I need to replace both, do both need to be 135mm?
A new rear wheel, which would also need to be standard quick release for your frame (no thru-axle). You really just need a hub that can accommodate a 12 speed cassette, but buying or building a new rear wheel will likely be an easier path than disassembling your current wheel and lacing a new hub to the old rim. Depending if you go SRAM or Shimano on the new drivetrain, there are specific freehub requirements to run a 12-speed cassette. For SRAM, you need an XD driver to run their Eagle groupset, and with Shimano you need their Microspline freehub.
If you do replace the front wheel so that they match, the front hub width is 100mm. I also noticed you originally suggested 2×12. As far as I know, the current 12 speed mountain setups are all made for 1x, and the 12 speed derailleurs likely cannot handle the amount of chain slack you would get with a 2x. The move toward larger cassettes is mostly to avoid the need for multiple chainrings, thereby simplifying shifting, reducing chain drop, reducing weight, etc. The current 1×12 setups can provide a 500% gear range which should be plenty!
I have a 2009 Swiss bike LX that appears to have the Mt bike drive train on it (I’m not the original owner). It has an 8sp cassette (24spd). My chain ring is worn out and it looks to be riveted. Is there a replacement option for them? It has the Prowheel cranks on it. It’s pretty close to 104mm but I’m not 100% on that being the case. Any help here would be much appreciated.