The next step for my custom Montague folding bike is a new wheelset. With horizontal, track style dropouts, and 120mm hub spacing, the Boston is made specifically for use as a single speed. The stock version comes with a flip flop hub; a freewheel on one side, a fixed cog on the other. You can switch between the two by simply turning the wheel around. I’ve had a fixed gear in the stable for years now, and I think it’s a lot of fun (of course I have a geared road bike as well…and a mountain bike… and a bmx bike. Who could have just one bike?!). So, I’ve picked up a Miche wheelset with track hubs, to make this Boston a fixed commuter.
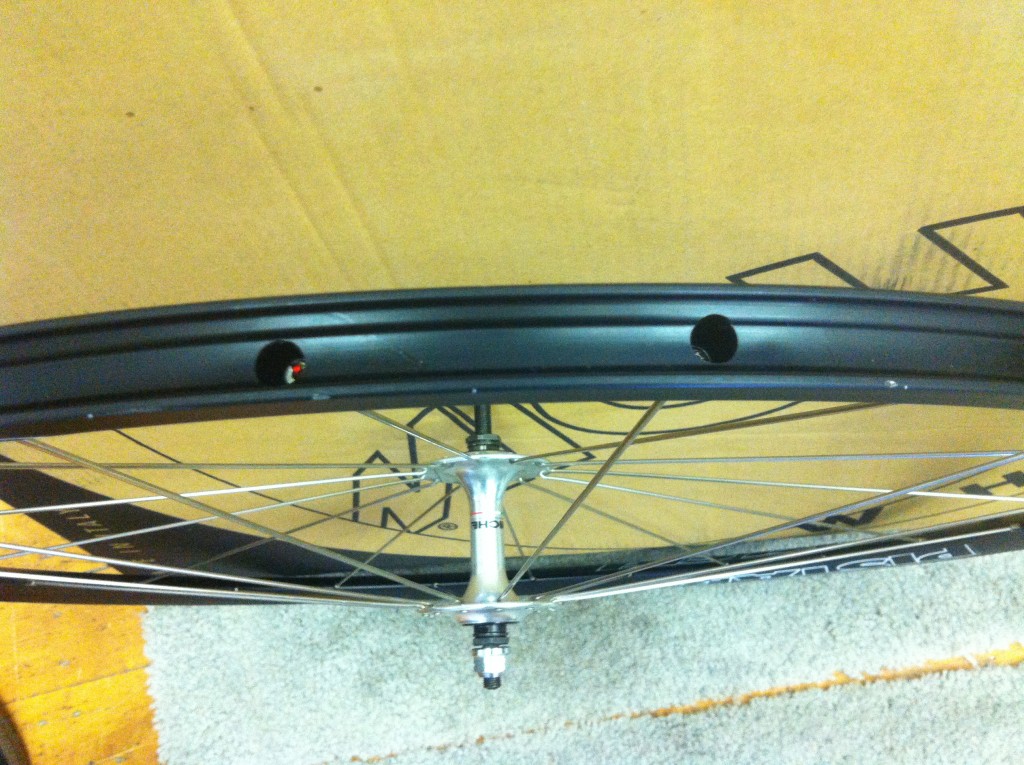
The first thing you need to do with a brand new wheelset is install rim tape. Bicycle rims are drilled for each spoke which leaves a series of holes around the exterior:
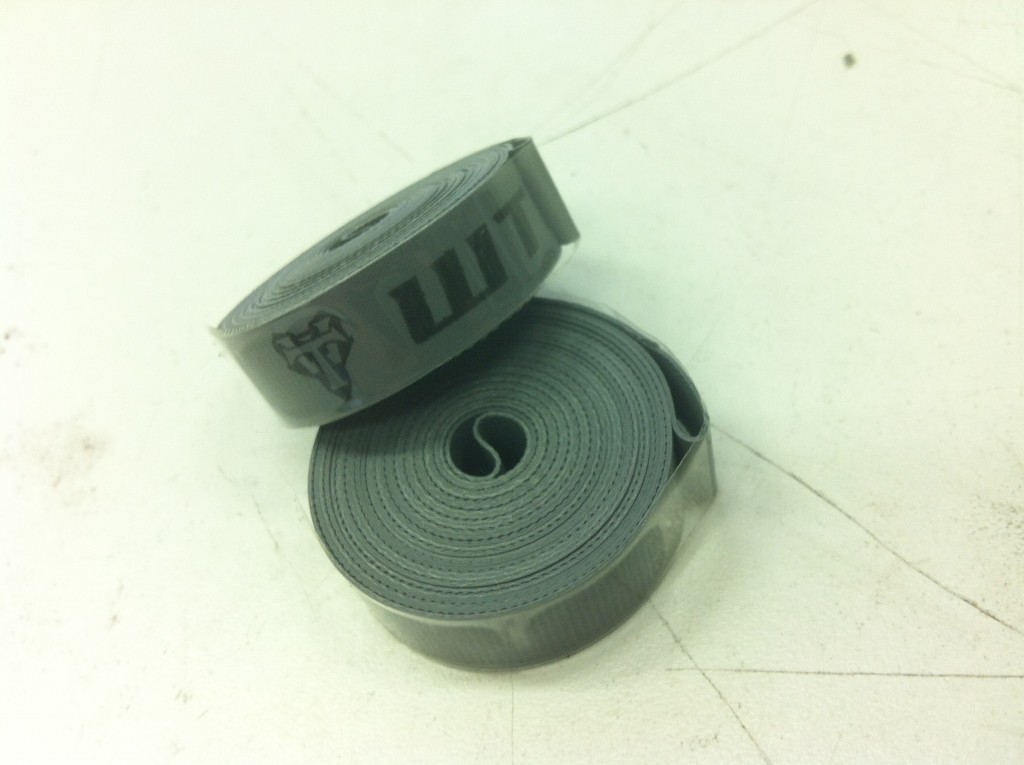
The rim tape covers these holes to protect the inner tube. If you were to install a tire without rim tape, the inflated tube would expand into the holes, and the sharp edges would quickly result in a flat. I picked up some WTB rubber tape, but cloth tape is also a popular option:
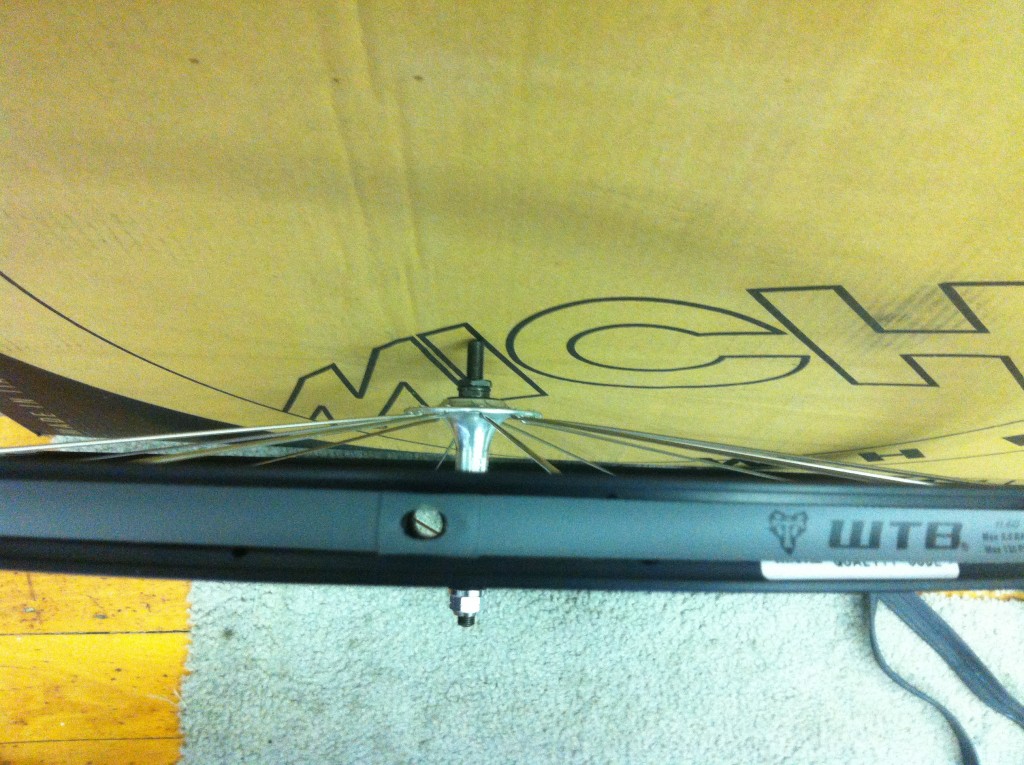
The one hole that does pass all the way through the rim is for the valve stem. Line up the hole in your rim tape here, and stretch it around the rest of the rim. Make sure it’s centered and covering all the spoke holes.
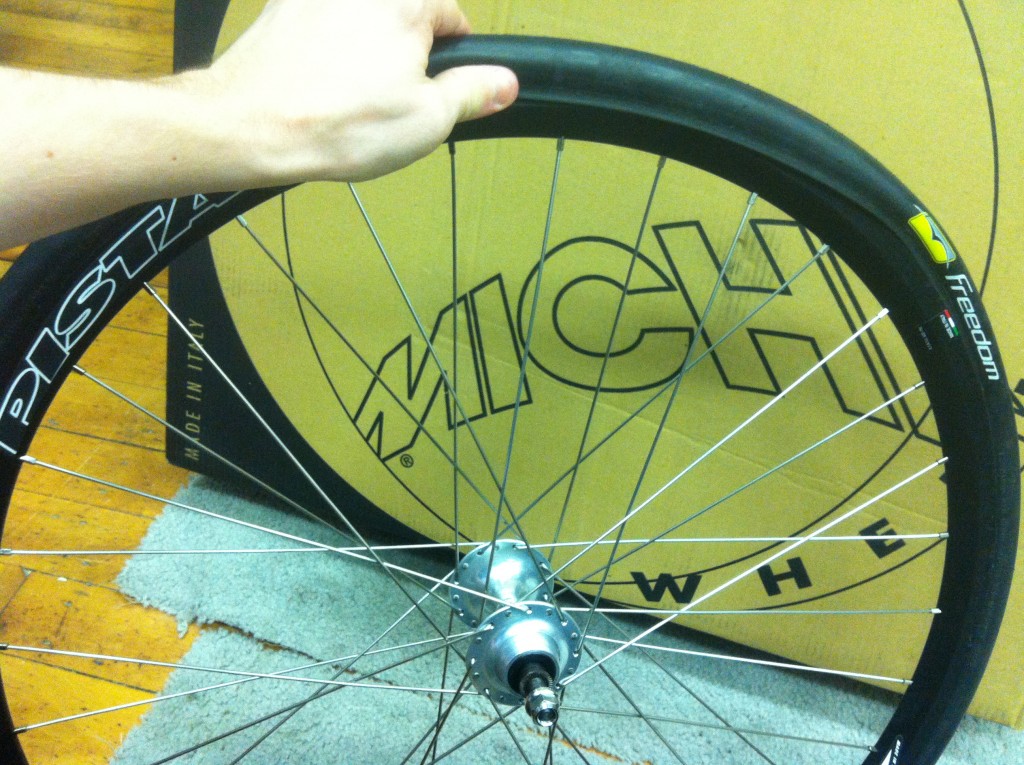
The ability to remove and install a bicycle tire is an extremely valuable skill to have. Fixing a flat is the most common bit of maintenance you’ll have to perform. It’s fairly simple so if you can do it yourself, you’ll save a lot of time and money. For installation, start by seating just one side of the tire on the rim. There will be a stiff bead along the inside of the tire that needs to get over the edge of the rim:
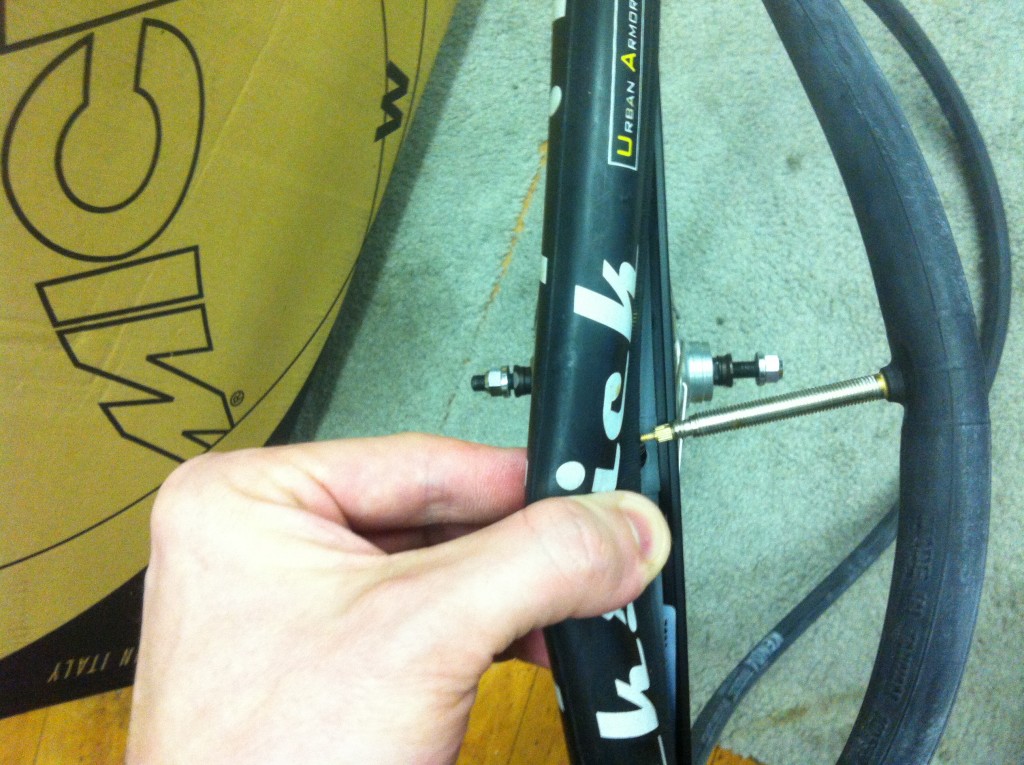
Next, take your tube and inflate it just enough to give it some shape, a few psi will do. The end goal is to tuck the tube in the side of the tire hanging off the rim, but you need to get the valve stem through first. Over the stem hole, push the loose side of the tire onto the rim as well. Force the tire all the way to the other side of the rim to expose the hole, and insert the valve stem:
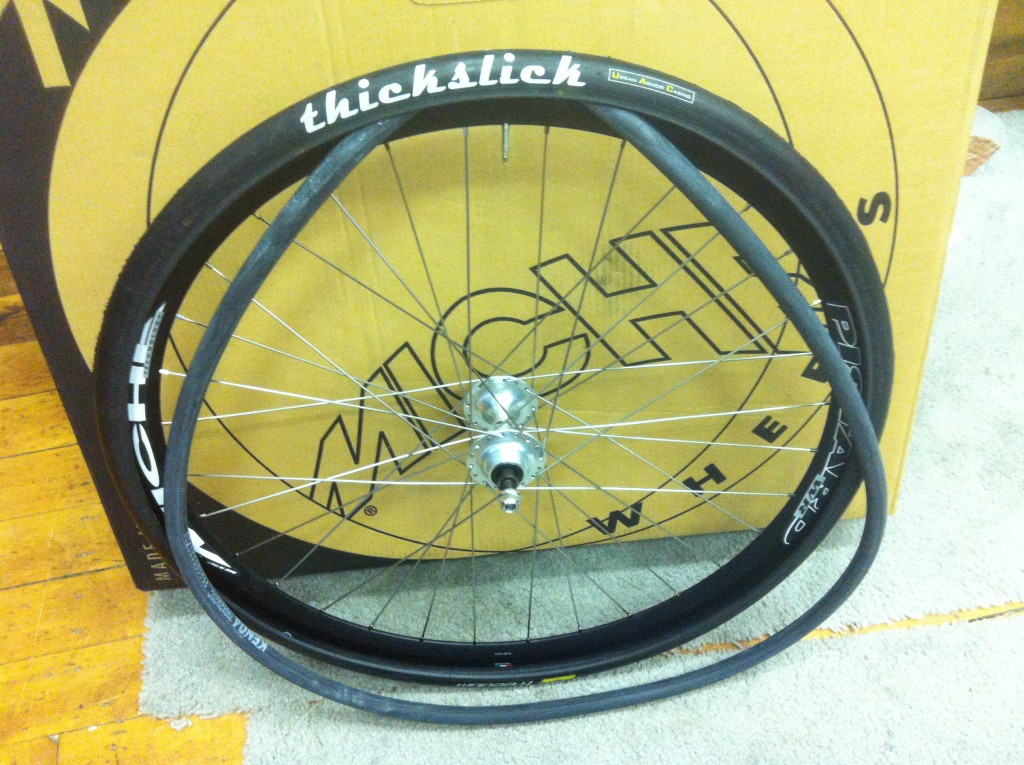
Pull the “loose” side of the tire back over the tube so that once again, only half the tire is on the rim:
Then, simply tuck the tube into the tire all the way around:
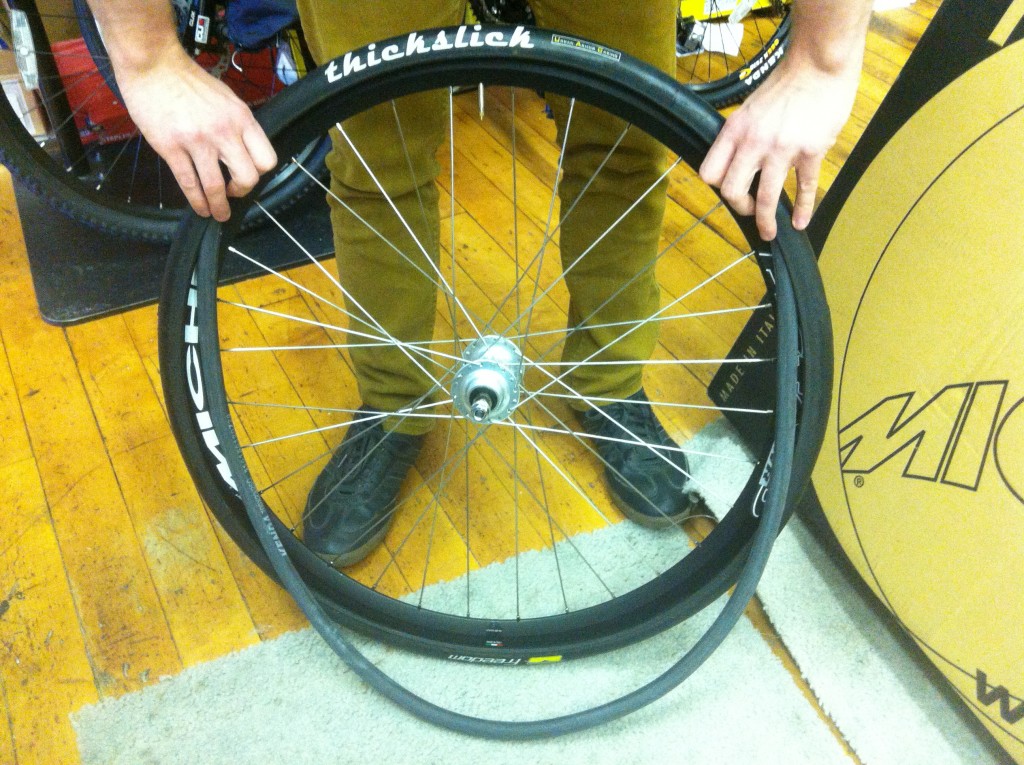
Once the tube is in, start to push the loose side of the tire over the rim. You want to avoid pinching the tube here, so as you make your way around, be sure it’s tucked in as far as possible:
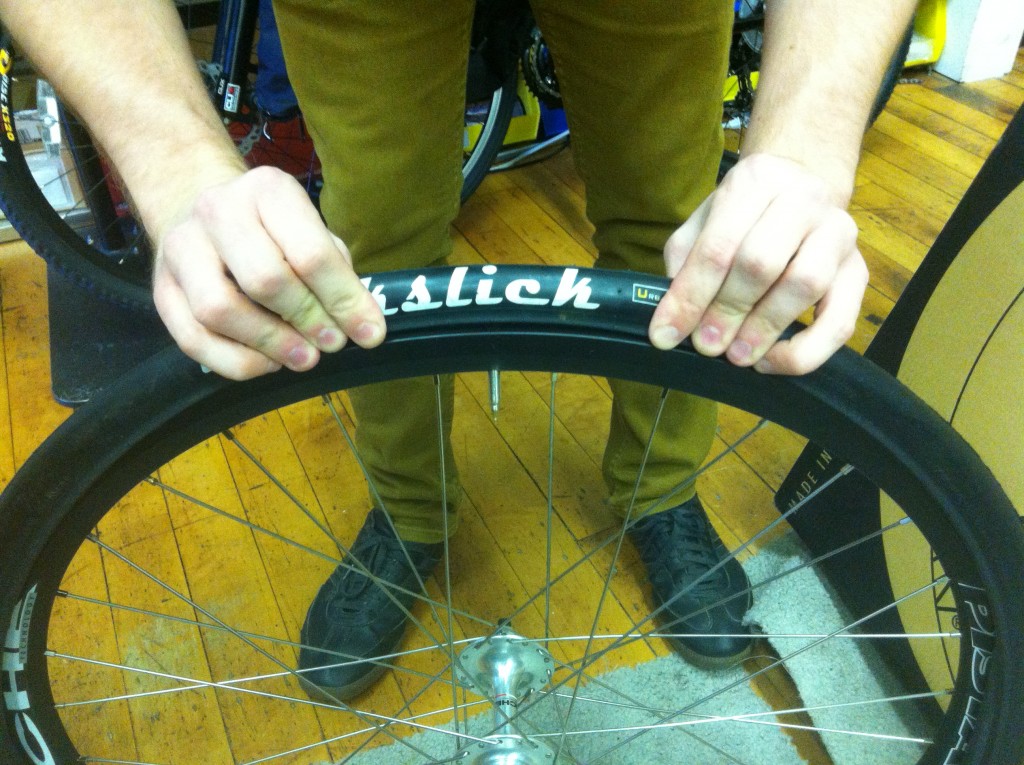
As you approach the last section, the tire will be stretched very tight. It gets difficult, but you should try to seat the tire entirely with your hands, as it’s the best way to avoid pinching the tube. Pushing the bead with your thumbs is the most effective way to do this:
Sometime you’ll encounter a tire that is very difficult to seat. If you really can’t get that last bit by hand, you can use a tire lever, but be extremely careful not to pinch the tube. Insert the lever up between the tire and the rim, so the top just barely hooks over the rim. Then, simply pull upward on the lever. It should force the tire up and over the rim. Using a lever to seat a tire should really be a last resort:
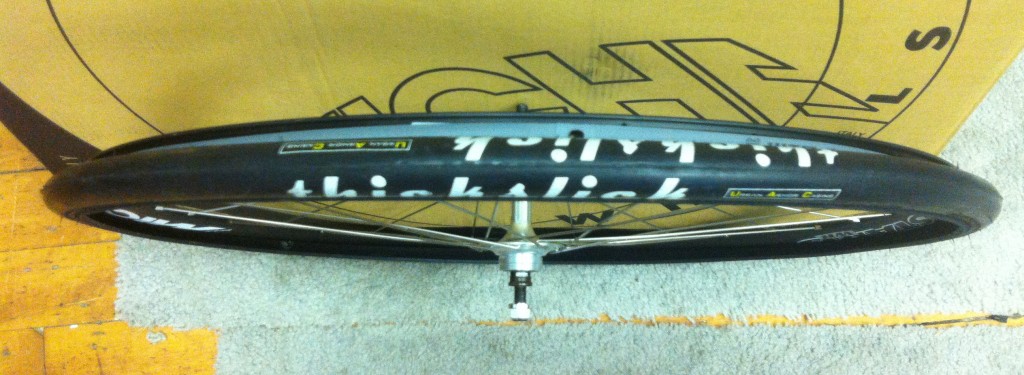
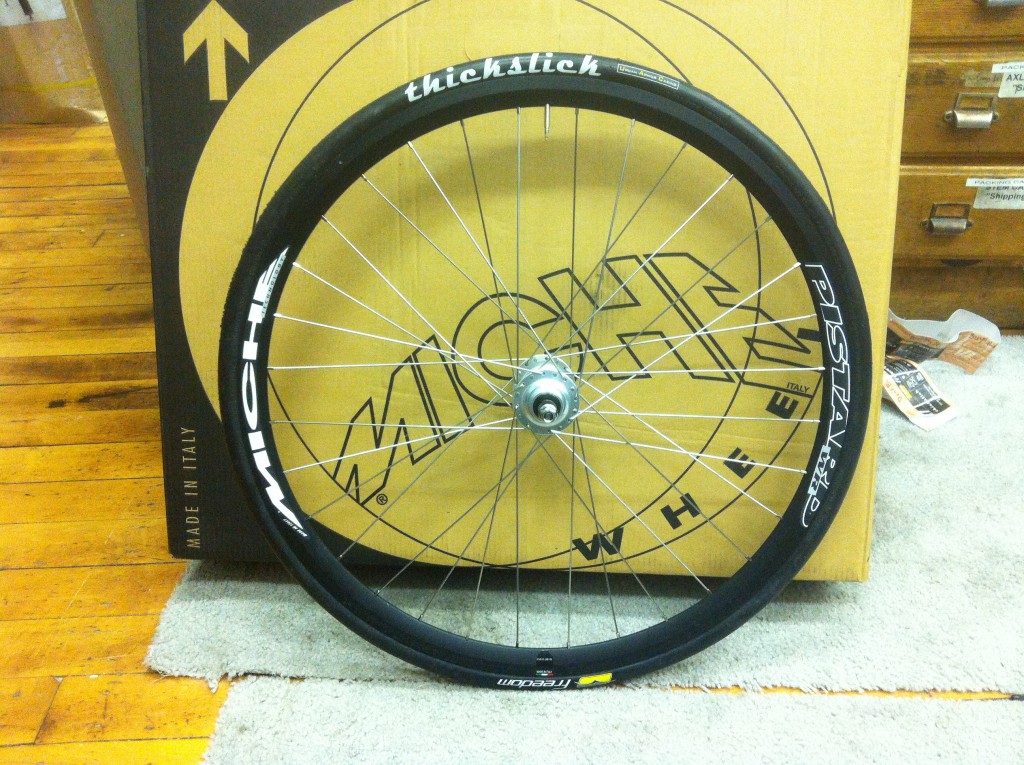
Then, just add air, and you’re ready to roll:
I mentioned installing and removing a tire were very important skills. Tire removal is what a tire lever is actually intended for. In order to get the bead of a seated tire off the rim initially, insert the tire lever down between the rim and tire so the end just barely hooks under the bead. As you push the lever down, it will pull the bead up and over the rim. Then, with the lever still in place, simply slide it all the way around the rim and that side of the tire will be free. Just like in installation, you can push the tire over the valve hole to remove the stem, allowing you to replace the tube without taking the tire off completely.
These new wheels are going to give my Montague Boston a whole new look. Before I can go much farther, I need to install the new bottom bracket and crankset. We’ll take a look at those next time.



love the guides – very informative! is it possible you could cover the fold mechanism i.e. disassembly checking for wear, play etc re-lube and then assembly.
thanks
Dan
Thanks for the kind words, Dan. We don’t really recommend you take apart your frame, but I’ll see what I can do… 🙂
+1 on the fold mechanism!!