I’m nearing the end of my custom Montague build. Most of the parts are in place and it’s now time to install a brake. Fixed gear bikes give you a tremendous amount of control with just your legs. You can easily regulate your speed and come to a stop without even touching a brake, but it’s nice to have one when it’s needed. Some riders choose to go without a brake (and I’d be lying if I said I haven’t done so in my younger, wilder days) but when you need to stop abruptly, a proper brake can save your life.
On any bike, the front brake provides far more stopping power than the rear. When you brake and the bike begins to decelerate, your body has momentum and your weight naturally shifts forward. The front wheel bears this weight and momentum and is therefore much more effective in stopping you. With the ability to regulate your speed and slow down with the fixed drivetrain, a single front brake is more than adequate for additional braking. Just remember, pulling a front brake hard can send you over the handlebars. Just be aware of your position on the bike and shift your weight back if you’re braking hard.
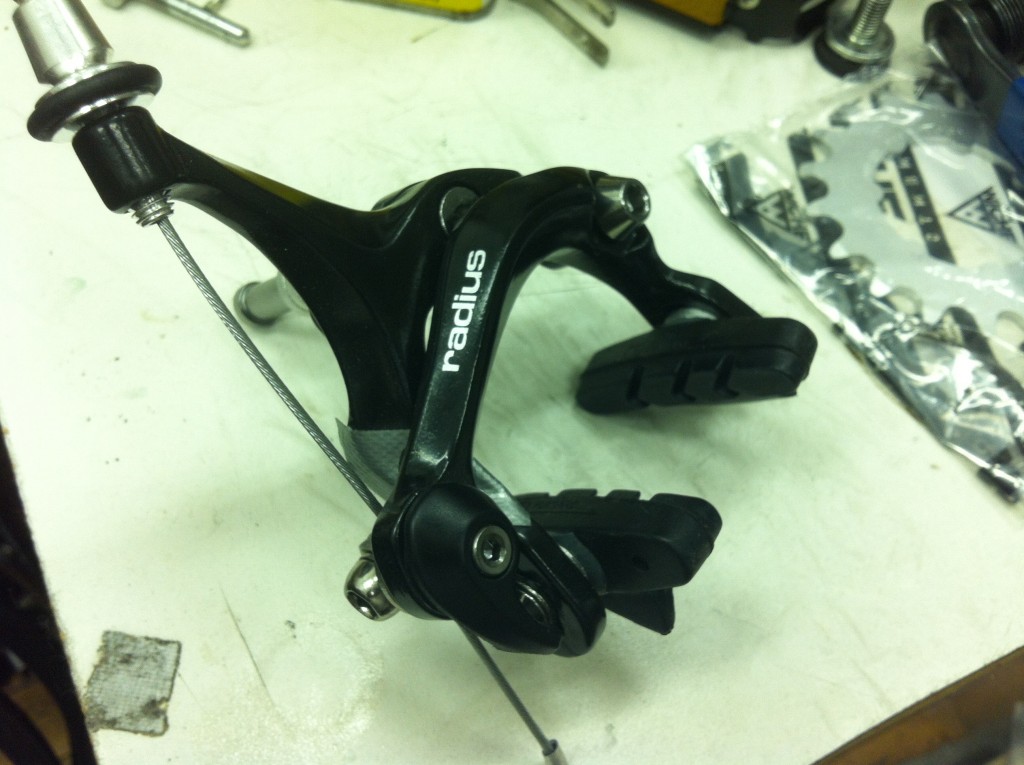
I’ll be installing a dual pivot road caliper. Caliper brakes are the design of choice for most bikes meant for on road riding. They mount to a single point above the wheel, which allows the brake arms to automatically center on the rim (theoretically). Larger tires require longer and deeper calipers, which in turn have less mechanical advantage. This is why you don’t see caliper brakes on mountain bikes or cruisers with fat tires.
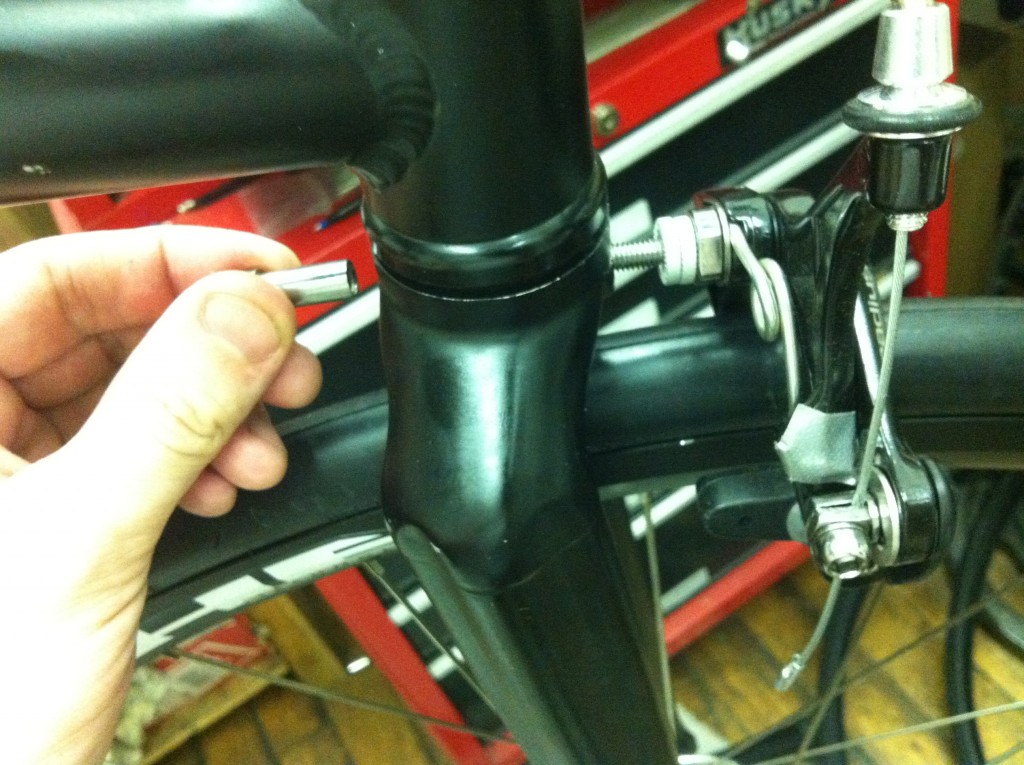
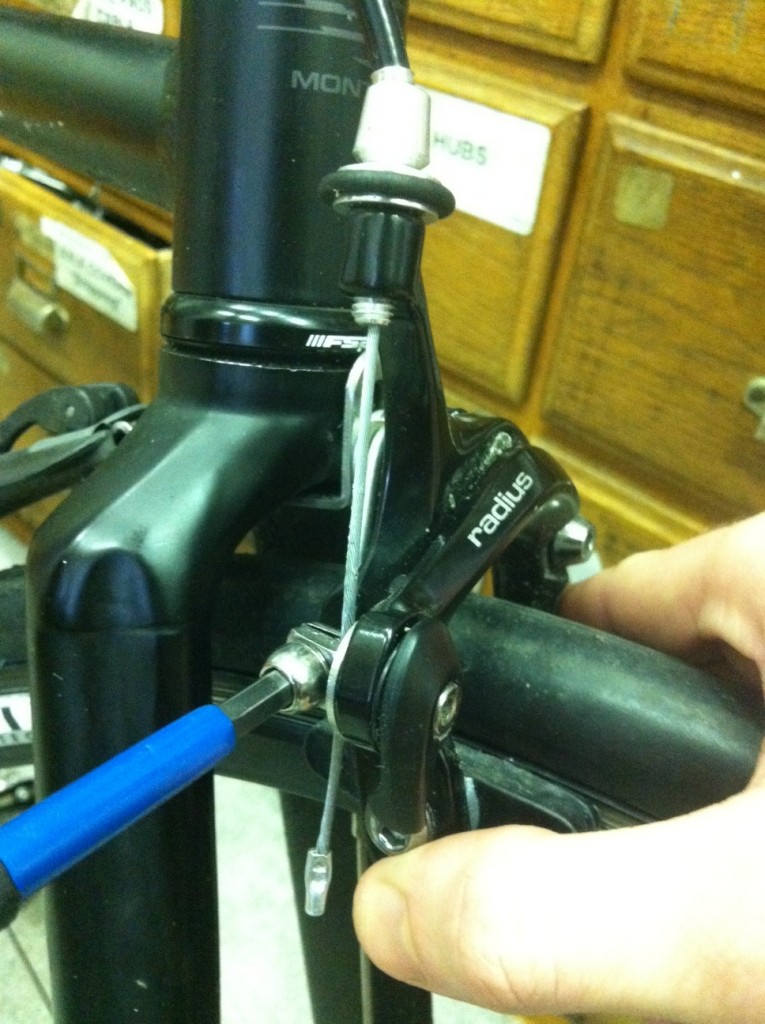
Calipers brakes are specific to the front or rear but the main difference is the length of the connecting bolt. The front has to pass all the way through the fork crown, and will be a bit longer than rear. Simply slide the bolt through from the front, and a recessed nut connects in the back. When tightened, the nut is flush with the fork, giving it a nice smooth look:
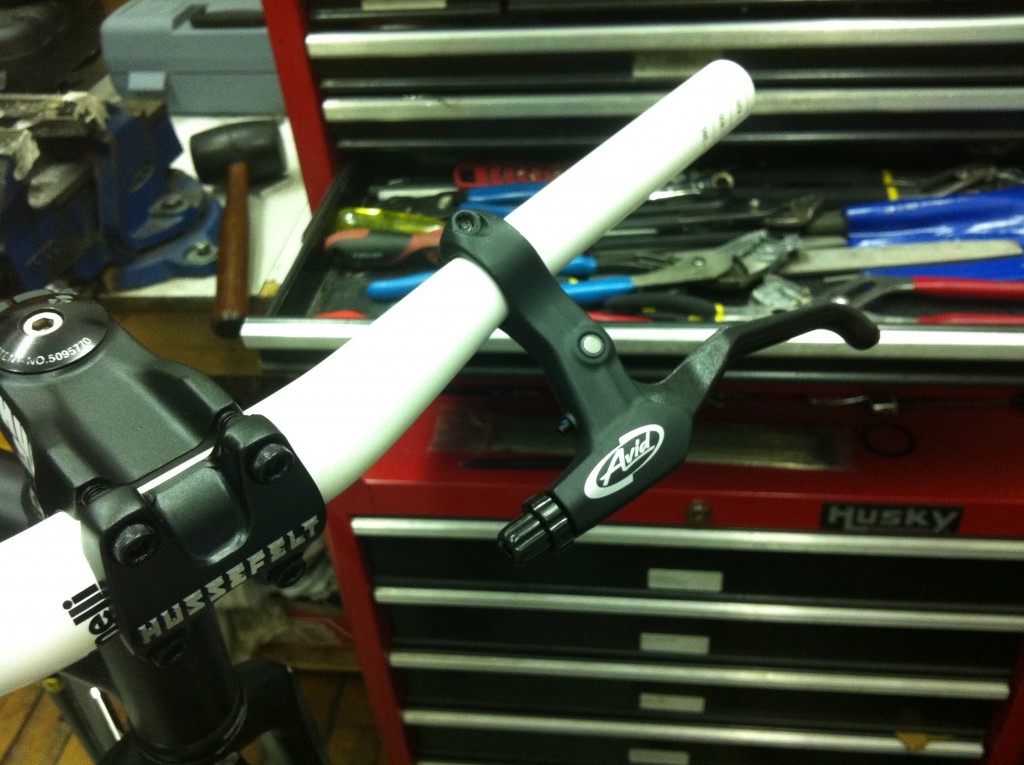
I’ve mounted an Avid mountain lever on my riser bars. While the stem clamp section can vary in diameter from handlebar to handlebar, the grip section is standard. You usually don’t have to worry about whether or not your lever will fit. However, I have mounted levers on older bars that were a bit small, and a piece of old innertube makes a great shim in that situation.
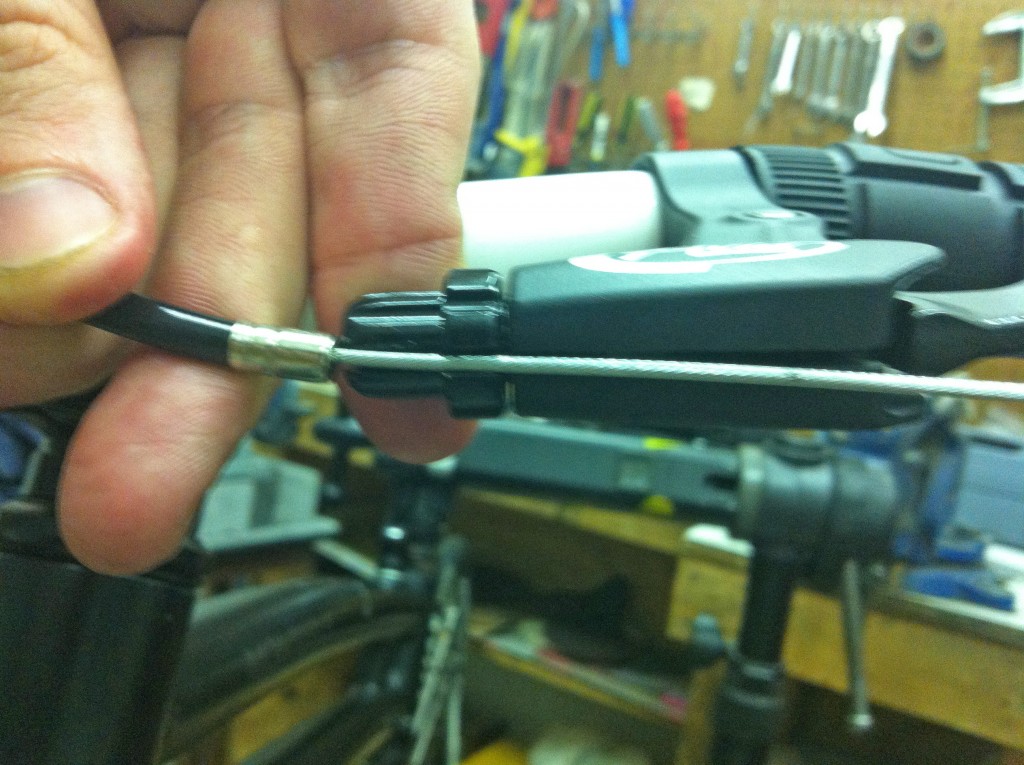
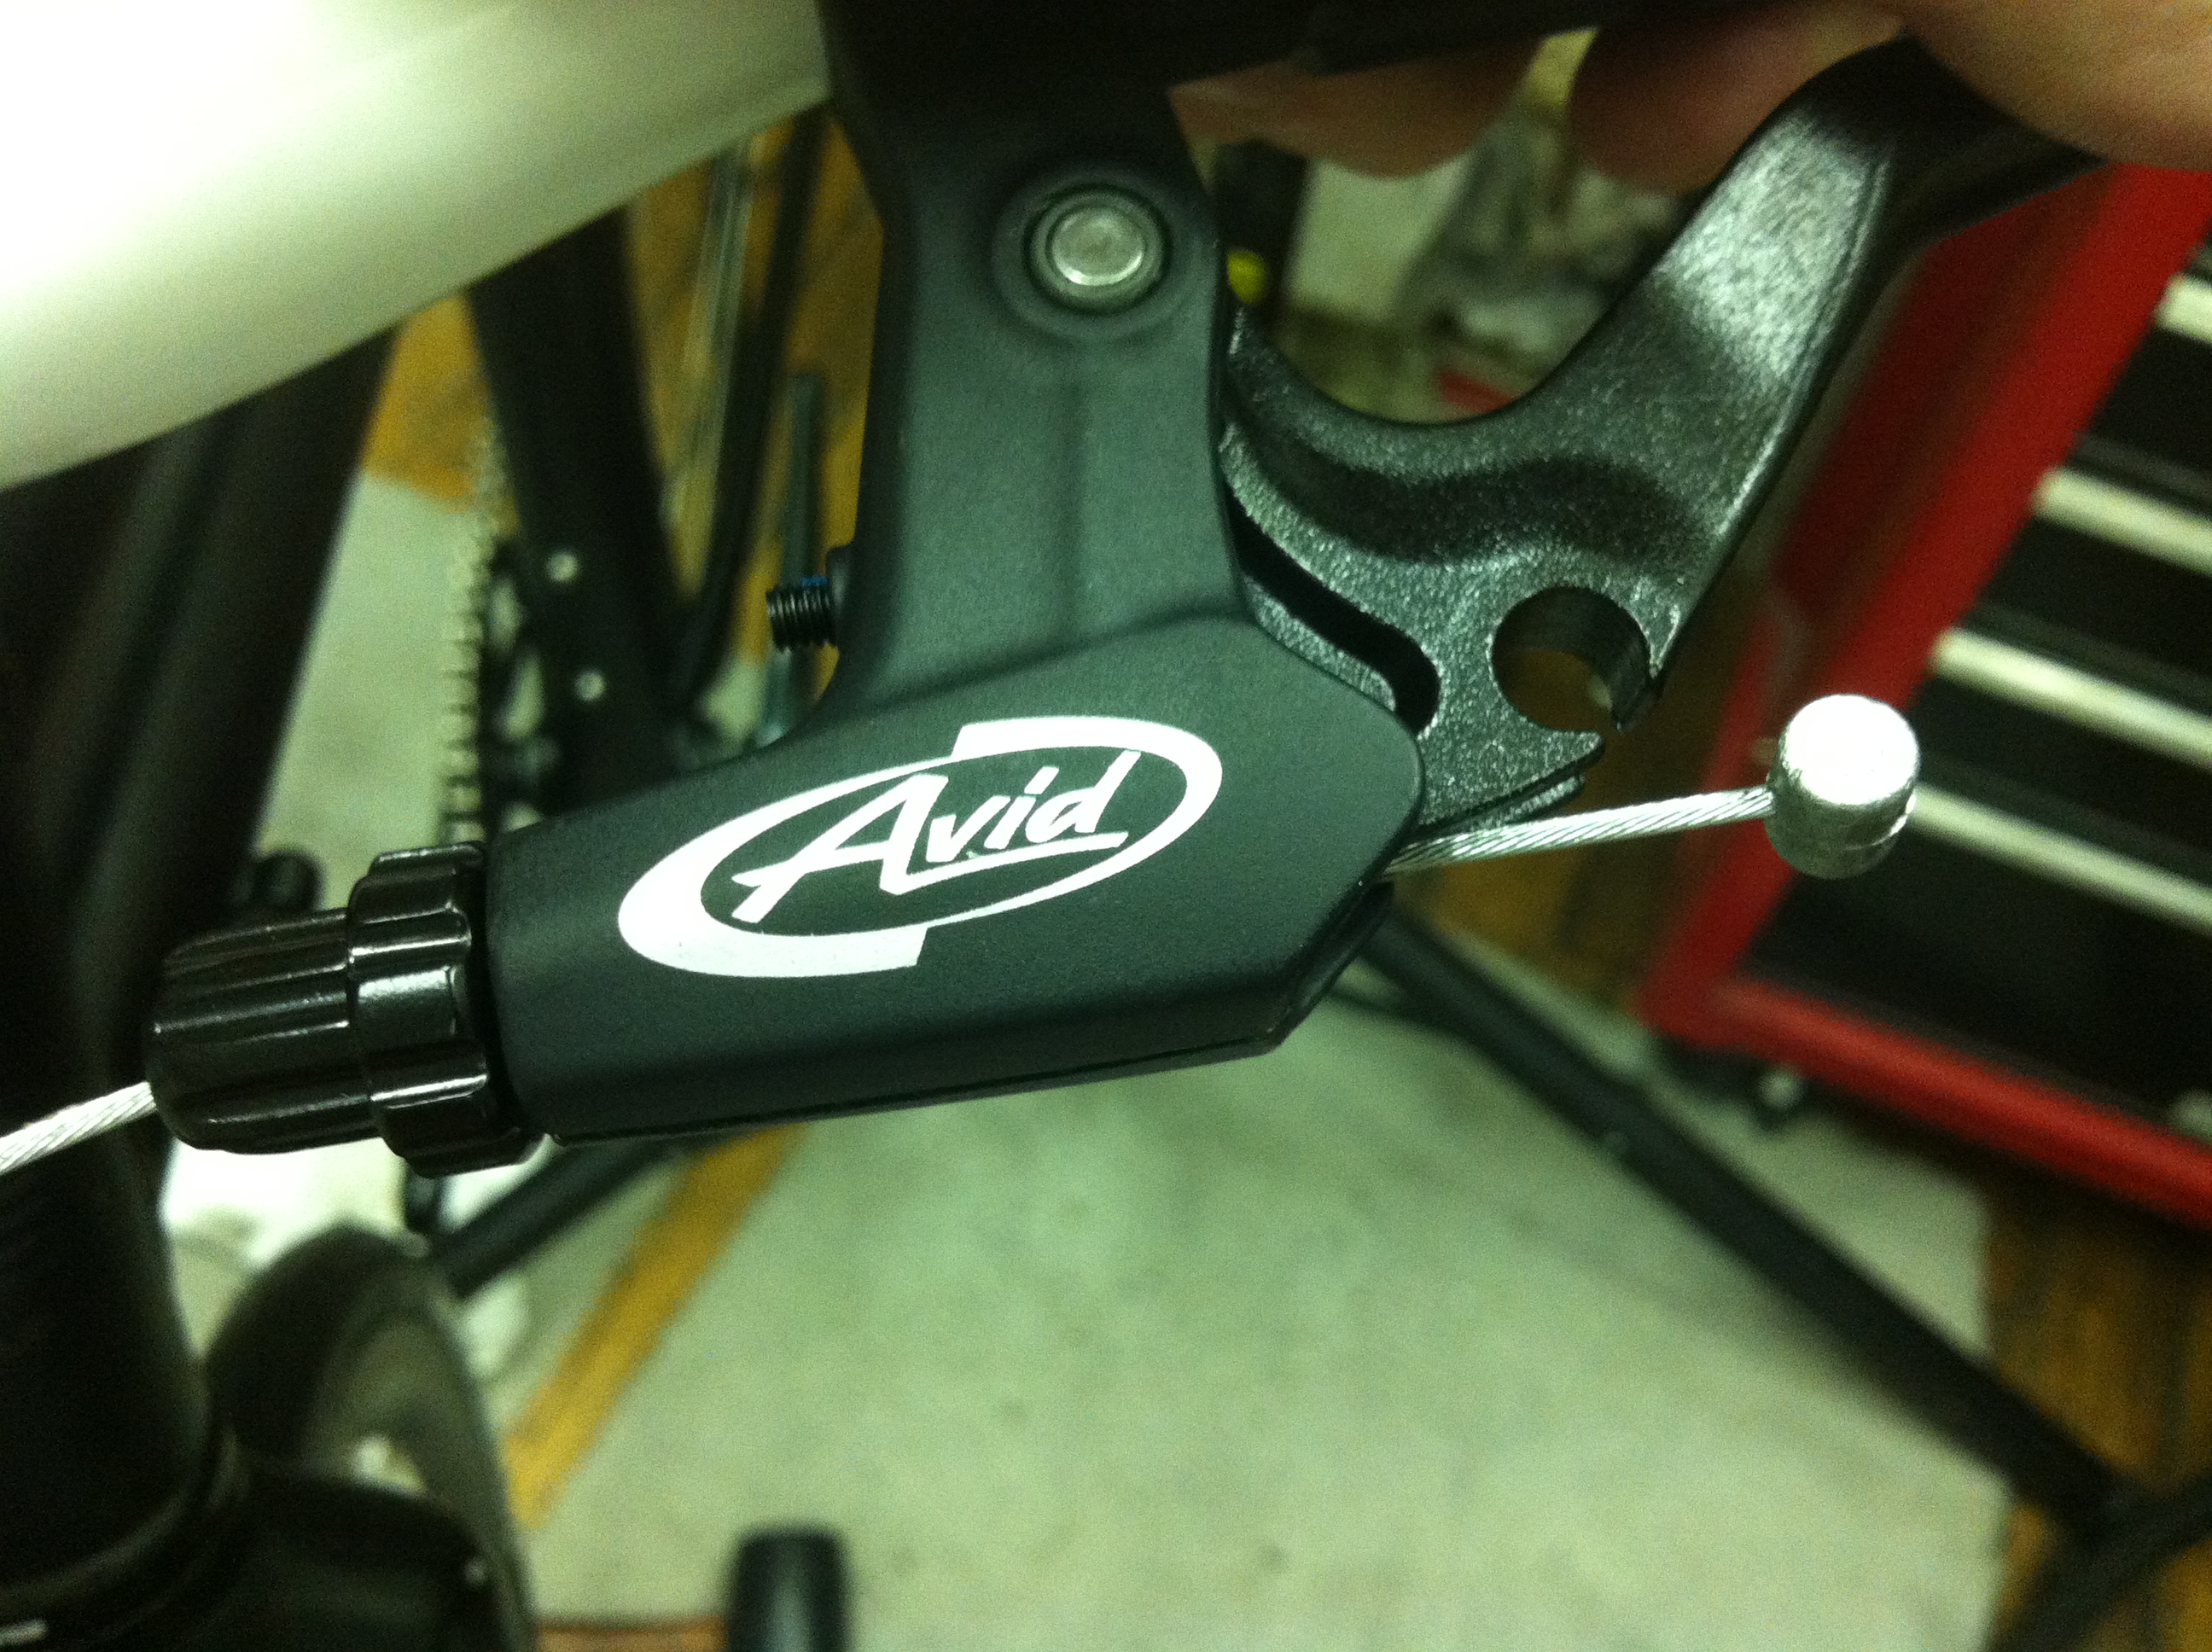
Where the cable enters the lever, there there is a barrel adjuster. Turning this allows you to fine tune the tension on the brake cable. In order to get the cable in initially, you need to turn the barrel adjuster so the two slots line up:
On one end of any bicycle brake cable is a metal piece that allows it to hook into the brake lever. There are road bike cables which are made for drop bar levers, and there are mountain bike cables which are made for any flat bar brake lever. The only difference is the shape of that end piece. Some cables come with mountain on one end and road on the other. With these, just cut off the end you don’t need. Push the cable through the slot in the barrel adjuster:
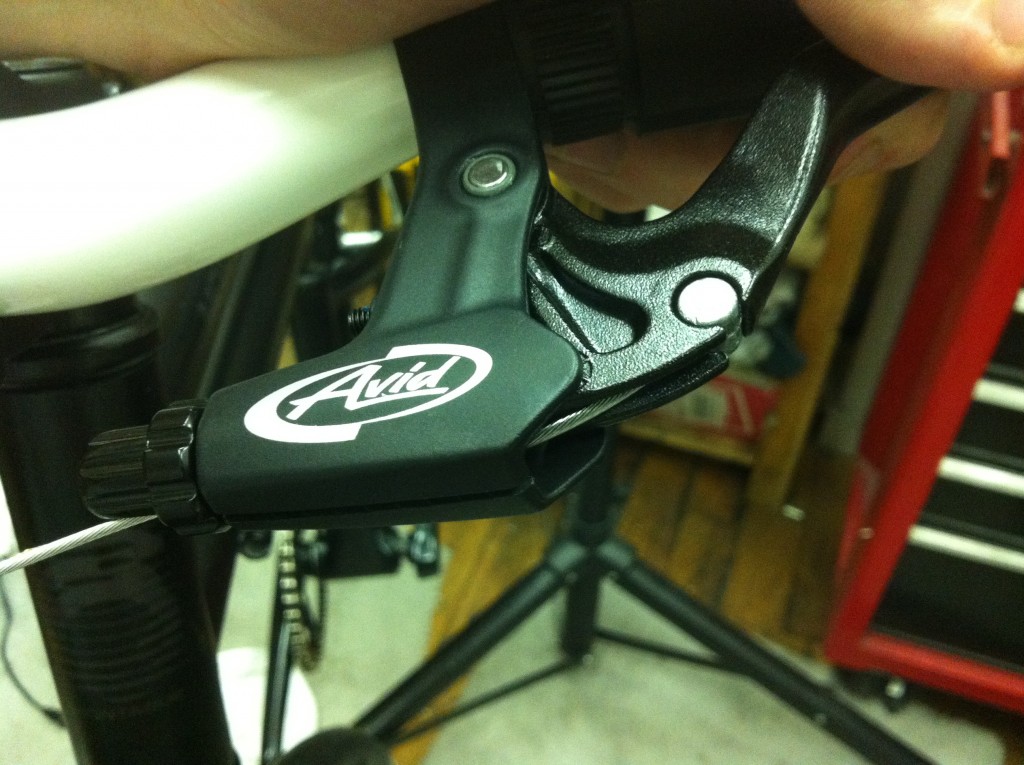
That cable end then hooks into the round hole on the lever:
Slide the other end of the cable through the housing, then through the barrel adjuster on the brake. You want your housing to be long enough that it curves gradually down to the brake. If it seems stretched or bent, the cable won’t slide through it easily, making the brake more difficult to pull. The housing stops at the barrel adjuster and the cable continues down to a nut where it’s held in place. Before you tighten this up, you need to tension the cable. Make sure the housing is seated in the barrel adjusters on both ends, and pull down on the cable to get it as tight as you can (pliers can be helpful to grip the cable).
You also want to set the pad distance to the rim. To make the brakes as efficient as possible, you want the pads to rest as close to the rim as they can without touching. You can physically squeeze the brake together with your hand, then pull the cable down again to tension it. While still squeezing the brake together, tighten the nut holding the cable:
Spin the wheel to make sure the pads aren’t rubbing anywhere, and pull the lever to test it. If you want to make the pads a bit closer, you can now utilize those barrel adjusters. Turning them counterclockwise will further tension the cable and move the pads closer to the rim.
The pads can also move up and down, and rotate, relative to the caliper. You want them to be centered on the rim’s braking surface. Too high and they could rub your tire and damage it. Too low, and they could hang below the braking surface and provide less stopping power.
If everything checks out, your brake is all set. You should feel safe knowing you can make an abrupt stop if needed. Next time, we’re going to check out some popular fixed gear foot retention: traditional toe clips with straps, and the newer velcro toe straps.


Hi There
I have a Montague Boston, single speed – the 2016 model – and want to replace the original brakes. I’ve been looking at these Velo Orange Grand Cru calipers and want to know if they will fit (47-57mm drop).
https://velo-orange.com/collections/brakes/products/grand-cru-long-reach-brakes
Thanks v much,
Paul
Yes, those should work. The stock brakes are long reach 47 -57mm, and use a recessed nut for mounting.
Hi, I have a 2015 Navigator. Is it possible to retrofit disc brakes on the front and/or rear? I say front and or rear because if one end is very complicated/requires changing a large section of the frame then I rather not do it. But is changing just the “easier” end going to have undesirable braking effects?
If your frame has disc brake mounts on the front and rear, it should be fairly straightforward to change over. It likely has mounts on the rear, but we may have had different forks on different production runs without them back in that era. If they are there, you should see two posts sticking out from the back-side of the fork on the non-drive side. You will of course also need new wheels with disc compatible hubs.