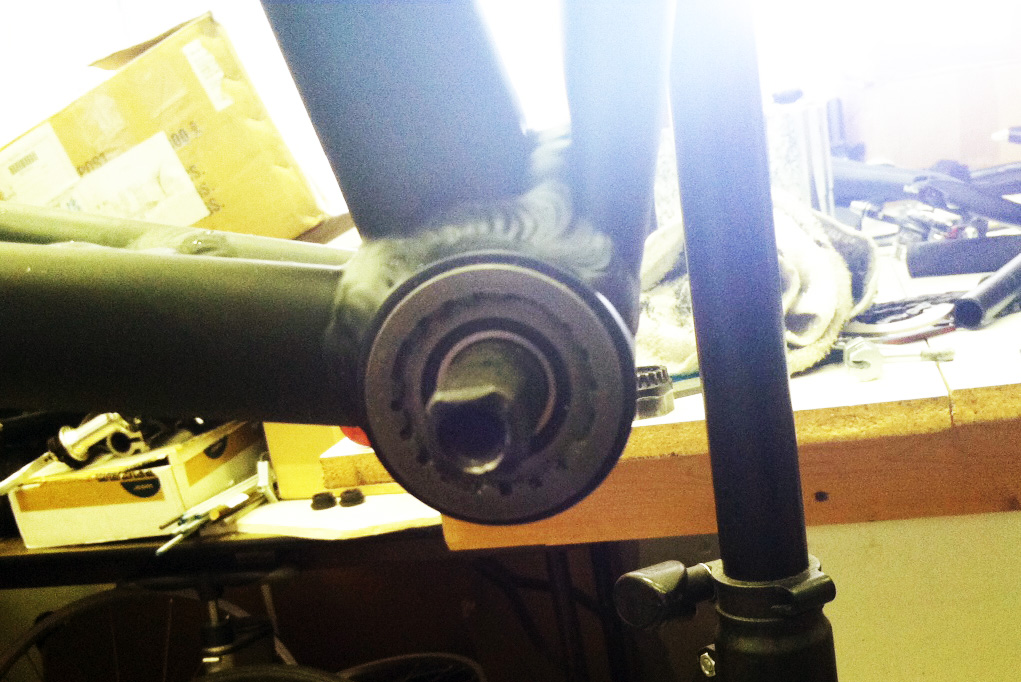
Getting to the bottom of things, we have the bottom bracket. This is a part of the bicycle we do not often think about. It’s down there, at the bottom of the frame, home of the spindle – the place where the cranks connect. Unless the cranks don’t move, or there is a strange side-to-side movement when pedaling we don’t usually have to think much about it.
Here is a square taper sealed cartridge bottom bracket on a Boston-8:
Most often it is the case that long periods of time will pass – think thousands of miles – between needing to change out the bottom bracket. This is especially true when it is a sealed cartridge. However, in our case this is for a custom build and some things need to be switched out. The squared off ends are where the cranks attach. We’re putting different cranks on this particular frame, cranks that require a different bottom bracket.
This bottom bracket has splined ends, and so we used a bottom bracket tool with splined ends that match up, a washer and crank nut to hold it in place, and a very large wrench. Most bottom brackets have one side that is reverse thread, meaning you would turn in the opposite direction than normal to loosen. This can vary depending on the type of bracket and frame, and so unless you know what you’re starting with, it takes some experimenting to determine which side is reverse thread. For this particular instance, the drive side is reverse thread. We found that out after inadvertently tightening on the first try.
You get something like this out:
We have here the very large wrench, splined bottom bracket tool, a sealed cartridge bottom bracket (missing one side), washer, nut – and a chain tool that really had nothing to do with this operation at all.
Once the old bottom bracket is out we have a fresh canvas, as it were, to put together our custom build.
Next step is to install our new bottom bracket…


What is the point? I know no more now than I did before. Except that a chain breaker is not needed but photographs nicely. And that there may or may not be a left hand thread on one side or the other.
That was my problem too when it came to figuring out how to do this in the first place – every type of bottom bracket is so different, and depending on the type of cartridge and the frame type it’s different every time. No information seemed like the right information. What would you like to know more about? I’ll be doing a follow up on installing the new bottom bracket and can include much more detail there.
l need bottom bracket for montague x50 about 8years old
It could be replaced with any 68mm English threaded bottom bracket with a square taper spindle. Ideal spindle length would be about 122.5mm, but anything within a few mm of that should work fine.
I’m riding a Montague paratrooper. What bottom bracket should I purchase. I would like to know first before i try to take out the original one for servicing if needed.
The frame can accept any 68mm English threaded bottom bracket. The stock crankset is made for a square taper interface and the stock BB has a spindle length of 122.5mm. A replacement square taper BB within a few mm of that length would work fine. If you were to replace the crankset, you could go with a different interface if you wanted to accommodate a certain design (GXP, Hollowtech, Octalink, etc.) as long it was still 68mm English threaded.