Fixed gears have been popular as winter commuter bikes for years. Long before messenger culture brought them to the limelight in the early 2000’s, hardened winter riders chose them for their simplicity and added control in bad conditions. For the last two years, a single speed Montague Boston folding bike has been my commuter. It’s taken a serious beating from all-weather riding, so I’m rebuilding it from the frame up with new components.
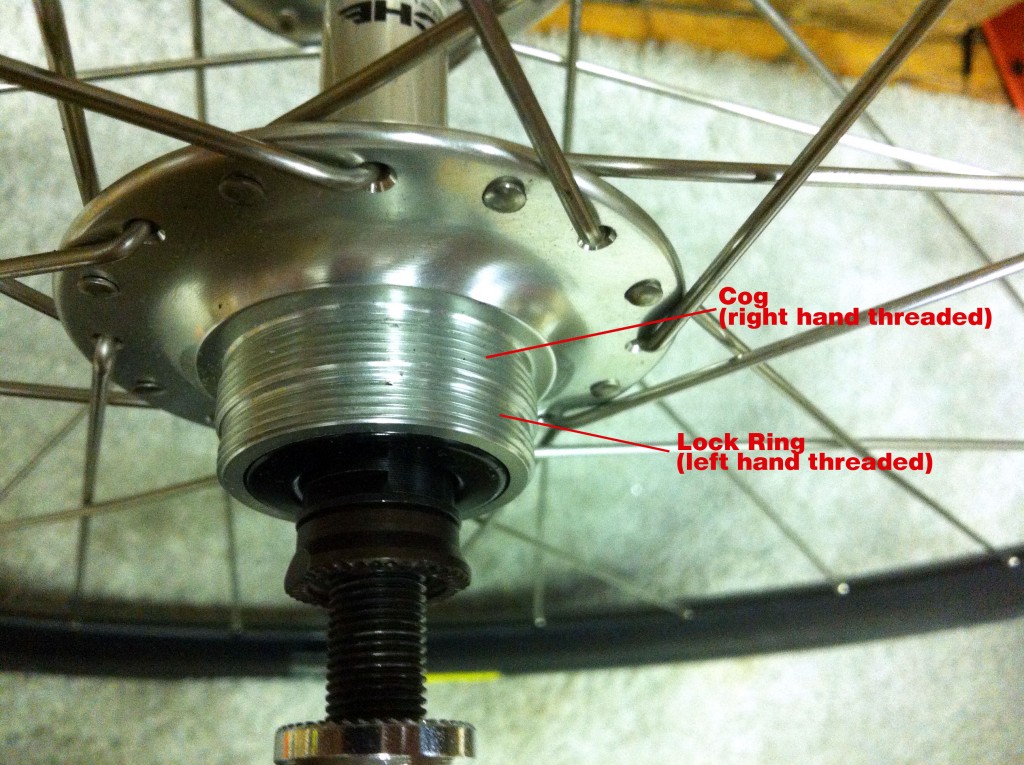
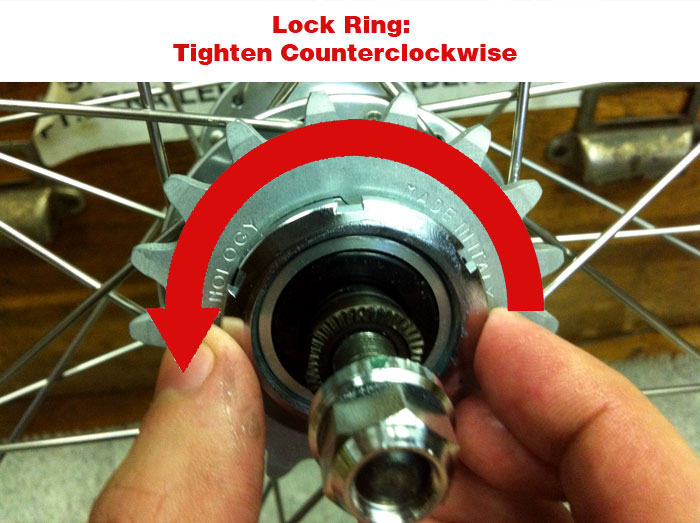
Most fixed gear bikes use a threaded track hub, although there are some companies like Resist and White Industries making splined hubs for fixed freestyle. On a traditional track hub, there are two sets of threads side by side. The cog threads onto the inner set, and like a threaded freewheel, your pedaling naturally keeps it tight. However, it would be possible to loosen a fixed cog simply with back pressure on the pedals, so a lock ring goes on the outer threads. The lock ring is reverse threaded, so it can’t loosen as a result of friction from the cog:
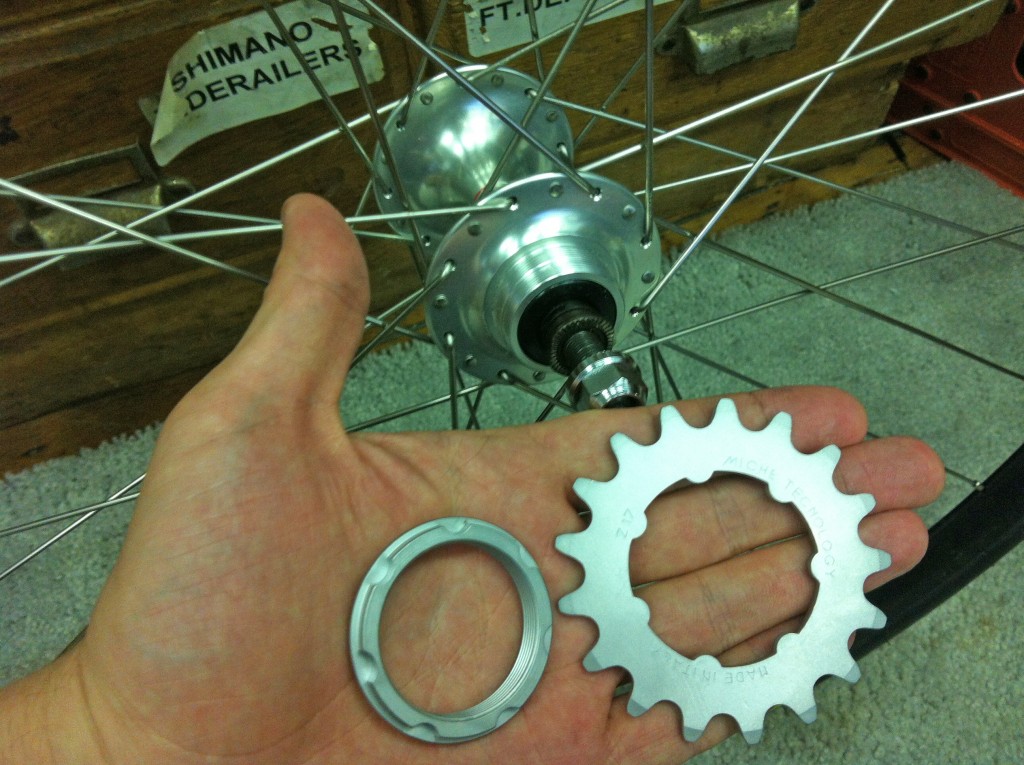
For this build, I’m using a fairly unique system made by Miche with an interlocking cog and cog carrier. The carrier threads on where the cog normally would, and different size cogs can then be easily replaced without having to unthread them. This is particularly useful at the velodrome, but I like the idea of being able to easily change gear ratios on my commuter. A lower gear ratio allows for a bit more control in snowy or icy conditions:
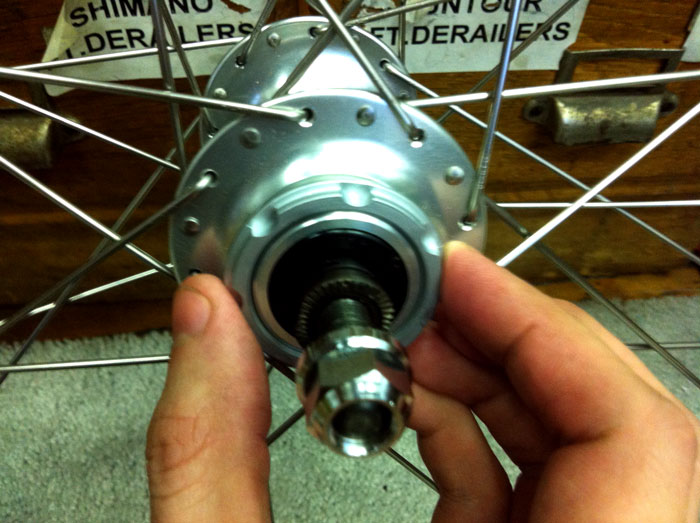
Thread the cog, or in this case the cog carrier, onto the hub by hand. As a general rule of thumb, anytime two parts are going together on a bike, use grease. You’ll thank yourself later. No exception here:
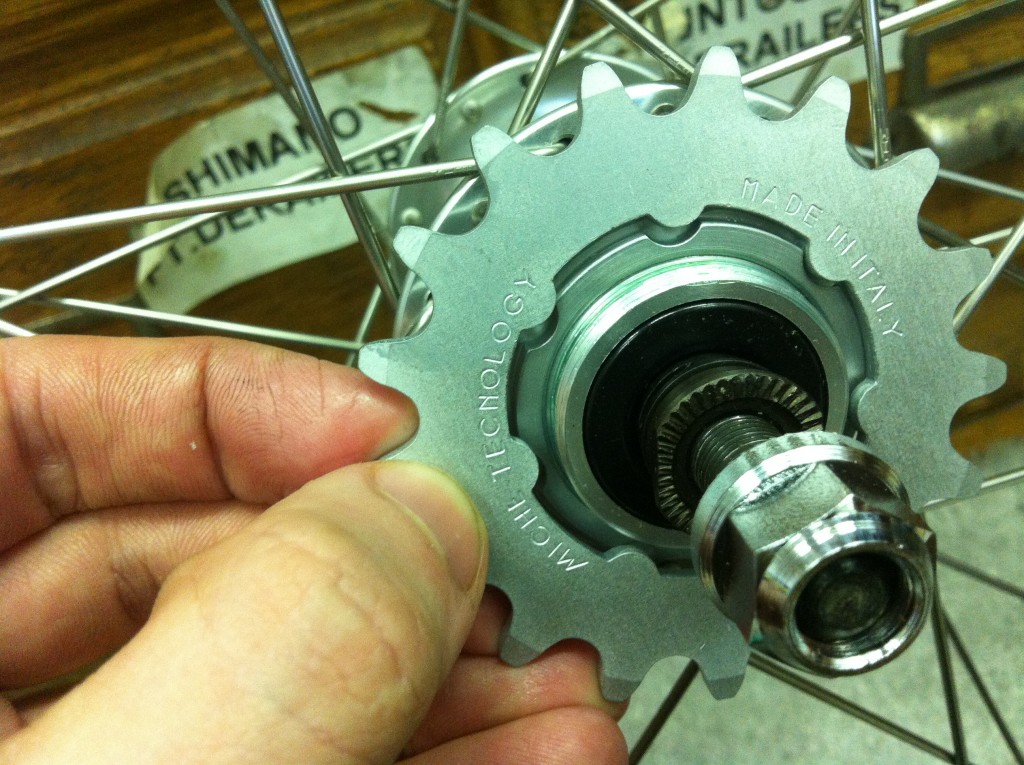
With the Miche cog carrier, the cog just slips right on:
At this point, you could use a chain whip to tighten the cog as much as possible. However, I’ve found that it will still naturally get tighter when you start riding, and you’ll have to go back and re-tighten the lock ring anyway. So I usually wait until I have a chain on, put some weight on the pedals to tighten the cog, then make sure the lock ring is secured against it. You can still thread the lock ring on now though:
Now let’s put this wheel on the bike, and install the chain. When you go to buy a chain, you’re going to have a lot of options. They’ll have different widths, and be specified for different numbers of speeds. It can be a bit overwhelming but most bikes will use either a 1/8″ or 3/32″ chain. This is the roller width, or the width between the inner plates of the chain. 1/8″ chains are for single speed bikes while geared bikes use the narrower 3/32″ chain. However, fixed cogs and single chainrings are also available in 3/32″, so make sure you know which you have. And make sure your chainring, cog, and chain all match. I’m using a Miche Pista 1/8″ track chain:
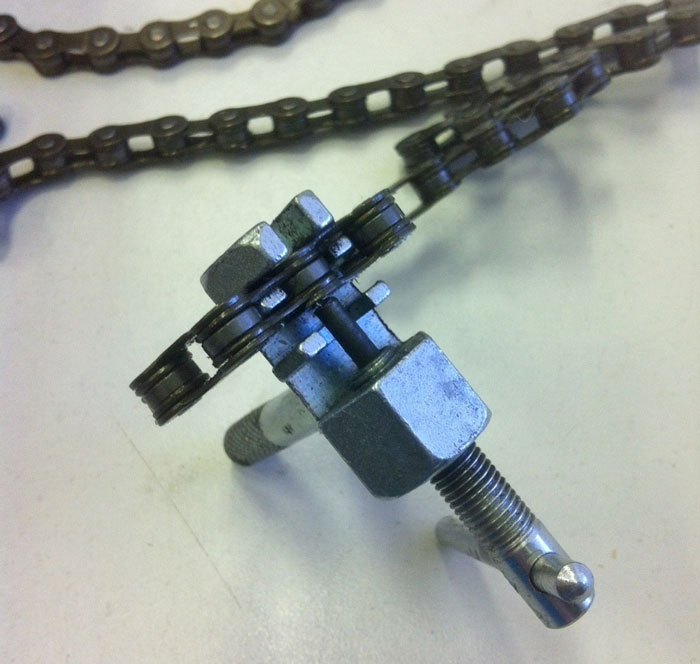
Installing or breaking and re-attaching a bike chain traditionally requires a chain tool. The tool pushes out one of the pins, allowing you to disconnect two links. To mend the chain, the same tool is used to push the pin back in place. Some chains require a new pin or special connecting rivet each time they’re broken. This is not the type of chain I have, so for more info on dealing with these types, I’d check out Park Tool’s website:
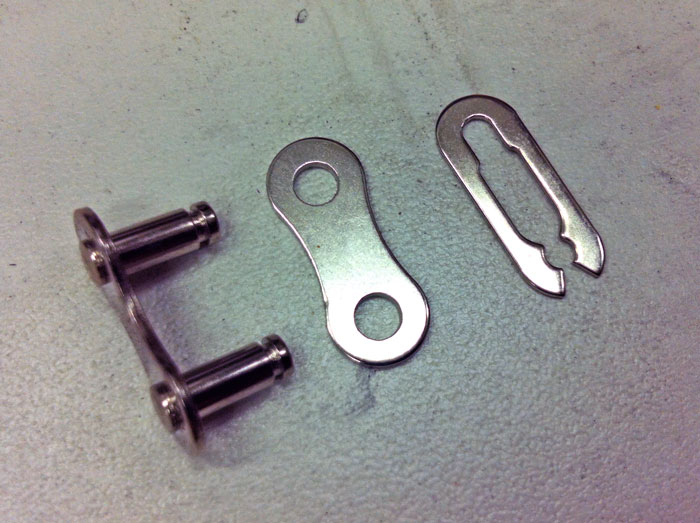
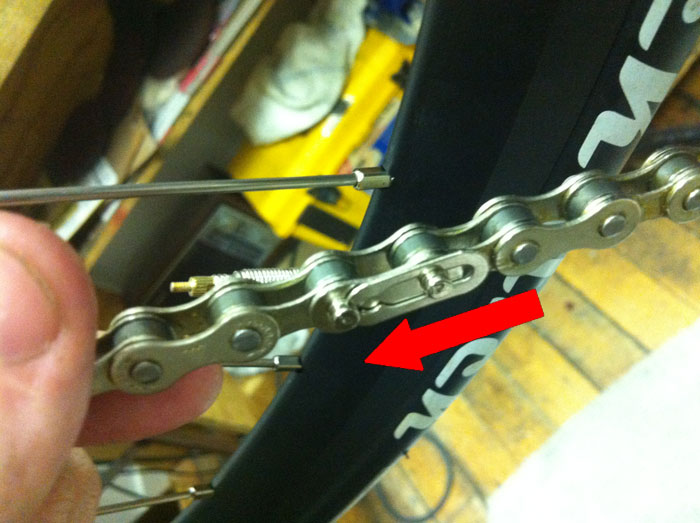
Many newer chains have what is called a Master Link. One of the links in the chain has a removable plate on one side which allows you to take it apart without a special tool, and without risking damage to the chain:
If you’re installing a brand new chain that uses a master link, there’s a good chance you’ll still need a chain tool initially, to make it the correct length. If the chain is too long, you’ll need to remove a link or two. Make sure you choose the correct pin to break, as you need to end up with two “inner plate” links for the Master Link to hook into. Amazingly, the chain I had was exactly the right length out of the box. I’ve never had this happen before, but it’s just a function of chainstay length and chosen gear ratio. Wrap the chain around the chainring and rear cog, and insert the master link to connect the two ends. At this point, I would suggest pushing your wheel forward as far as possible for some extra slack to work with:
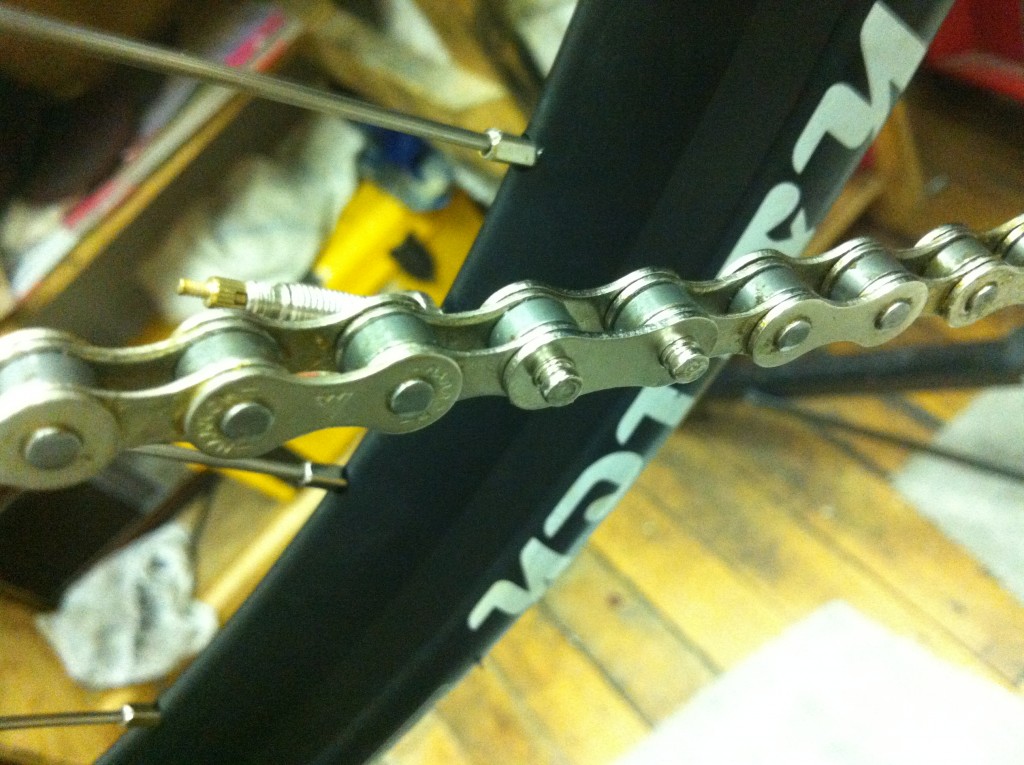
Once they’re joined, slide the outer plate over the end of the two exposed pins:
Lastly, the locking plate is installed. You’ll see there are small grooves on the end of the pins to stop it from coming off. Slide the plate onto the pins as shown, then push it over until it clicks into place. I’ve found a flat head screwdriver works well to push against the plate:
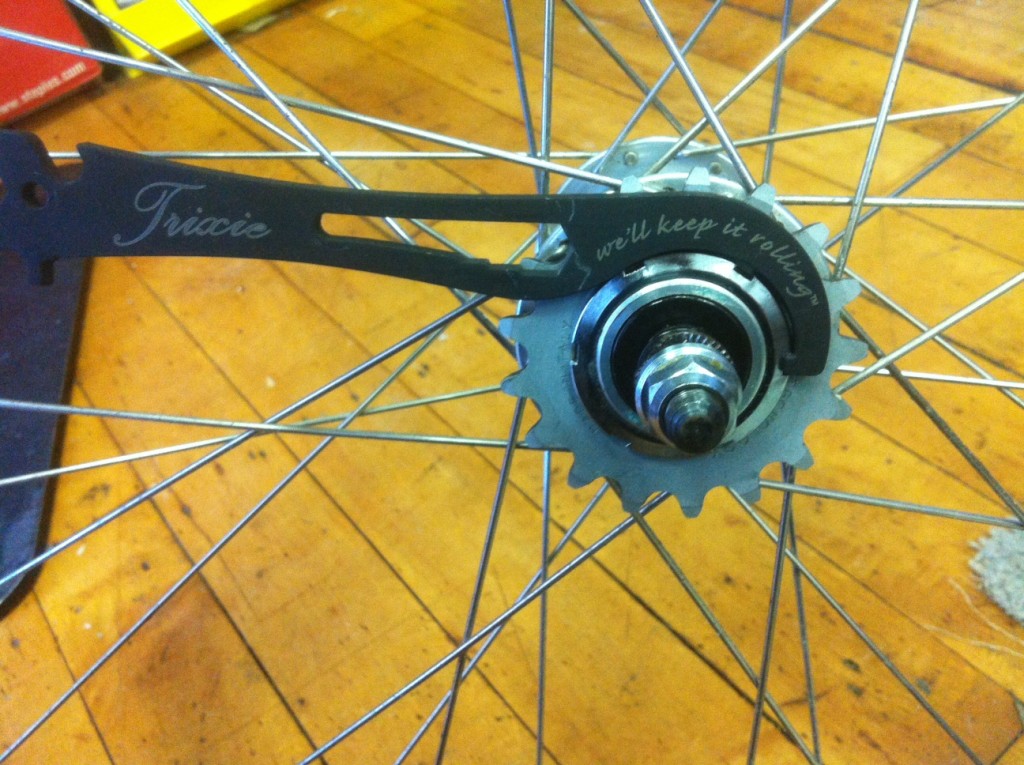
You can now use the newly installed chain to make sure your cog is tightened on the hub. Put your weight on the front pedal and you’ll probably feel it slip a little as it tightens up. Then, you can tighten your lock ring. It does require a lock ring wrench, but if you’re riding fixed, you should really own one:
Once the lockring is tight and your chain is properly installed, pull the rear wheel back in the dropouts to tension the chain. You want it fairly snug, but it should still give a little when you squeeze the top and bottom sections of chain together (maybe 1/8″ of an inch on each side). A new chain will stretch a little, so expect to re-tension after you put some miles on it. Next time, we’ll take a look at caliper brakes (yes, I’m putting a front brake on my fixed gear…).

