Over the past few weeks, I’ve given you a step by step look at building a completely custom, fixed gear folding bike. Today I’m going to put the finishing touches on with a new seatpost and saddle, and talk a bit about proper saddle positioning.
Saddles are perhaps the most often replaced or customized part on a bike because let’s face it, we’re all made a little different. What’s comfortable for me may not be comfortable for you. There are plush saddles, narrow saddles, wide saddles, spring saddles, and countless different shapes and materials. You might think that the biggest, cushiest saddle you can find would be the most comfortable, but this is usually not the case. What you want from a bike saddle and what you would want from a chair for example, are very different. You don’t actually “sit” on a saddle in the traditional sense, which is why it’s called a saddle, and not a seat. When on a bike, your weight should be evenly distributed between the saddle, handlebars, and pedals. The saddle should support your sit bones, and allow free movement of your legs. One of the problems with a big cushy saddle is that while pedaling, your legs can rub against it and cause discomfort.
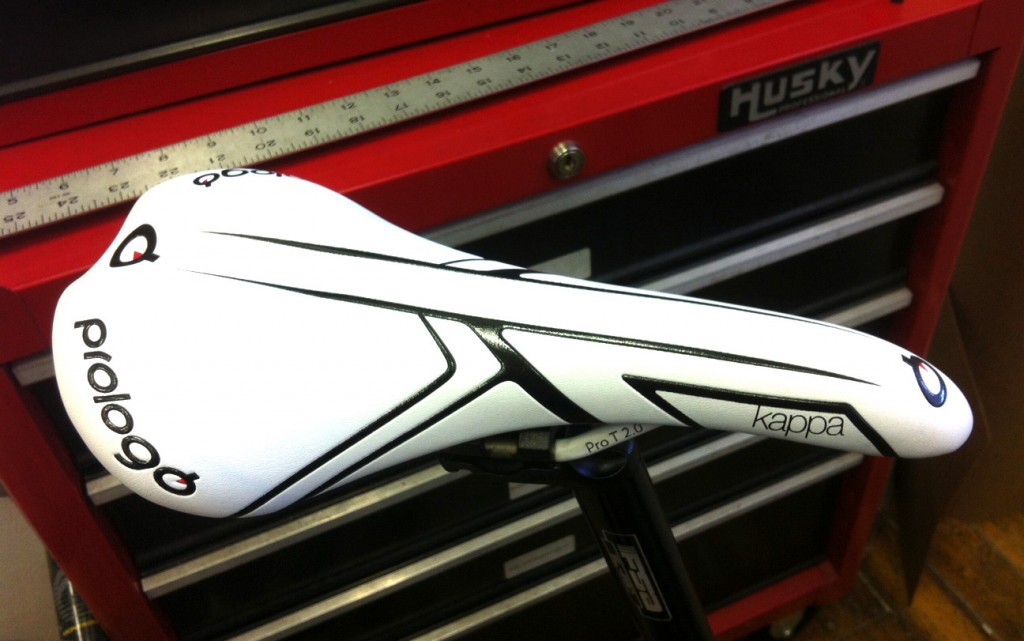
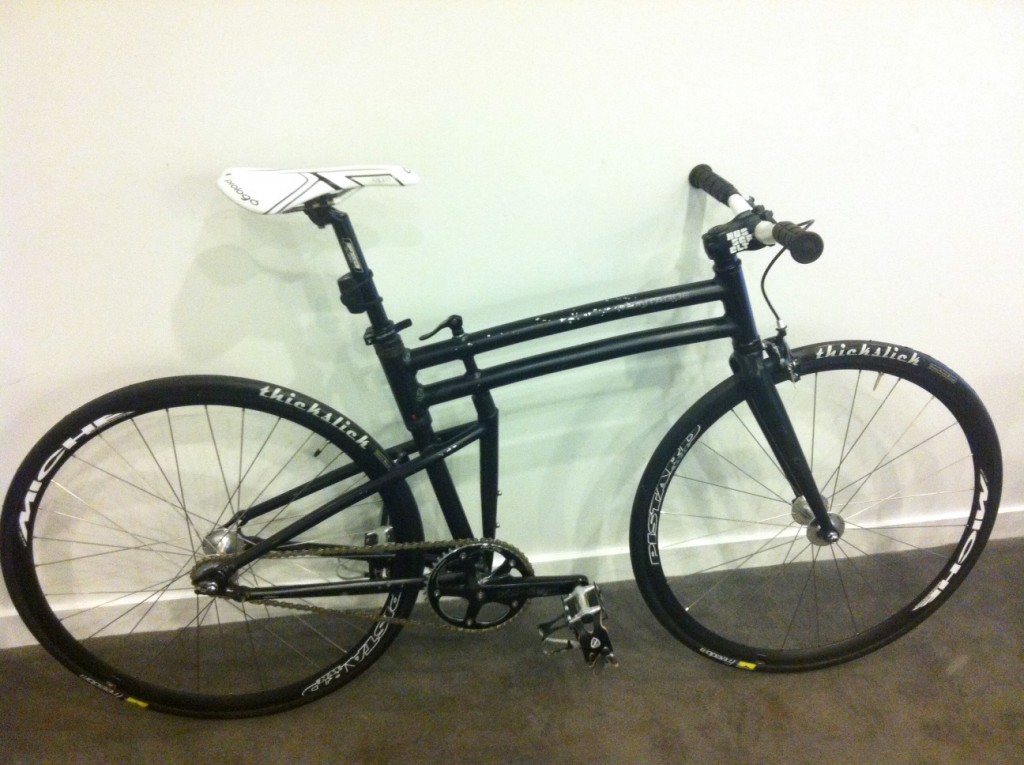
Onto the task at hand. I have a Prologo Kappa saddle I’ll be putting on my Boston build:
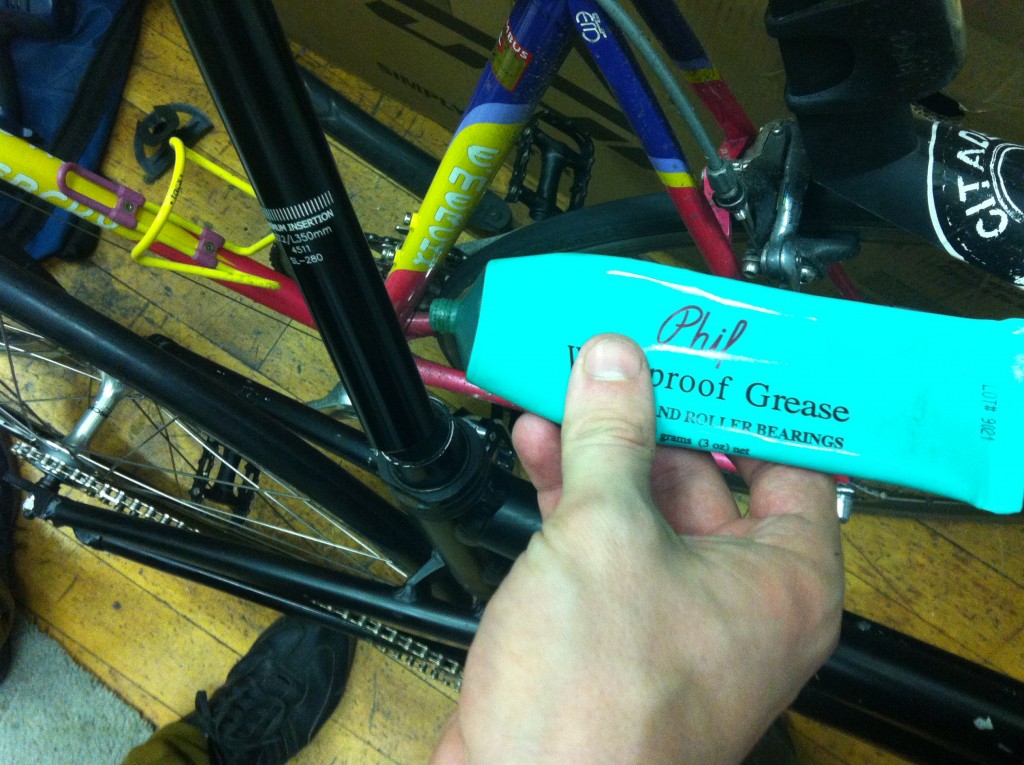
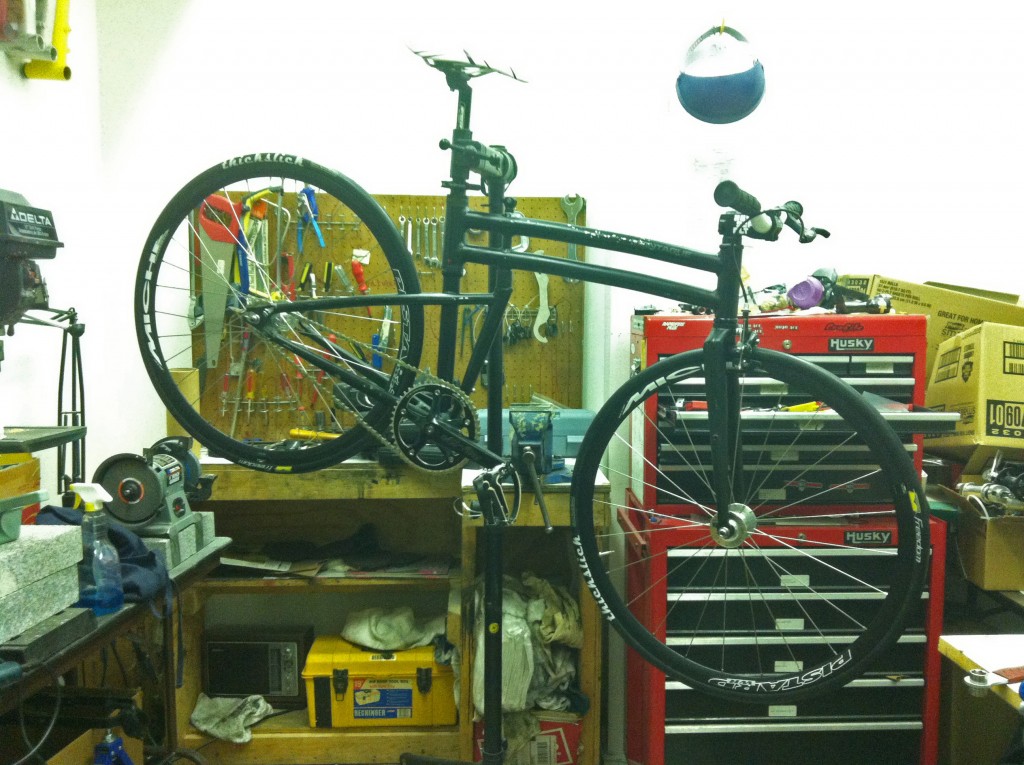
I also have a brand new FSA seat post. When installing the seatpost, you definitely want to use grease. Because the post fits so snugly in the seat tube, any amount of corrosion can result in the post completely seizing in the frame. I’ve had to deal with stuck seatposts before, and it’s no fun:
For reference, pre-2012 Montague bikes use seatposts with a 27.2mm diameter, while 2012 and beyond use 30.0mm seat posts. The clamp sizes would be 31.8mm and 34.9mm respectively.
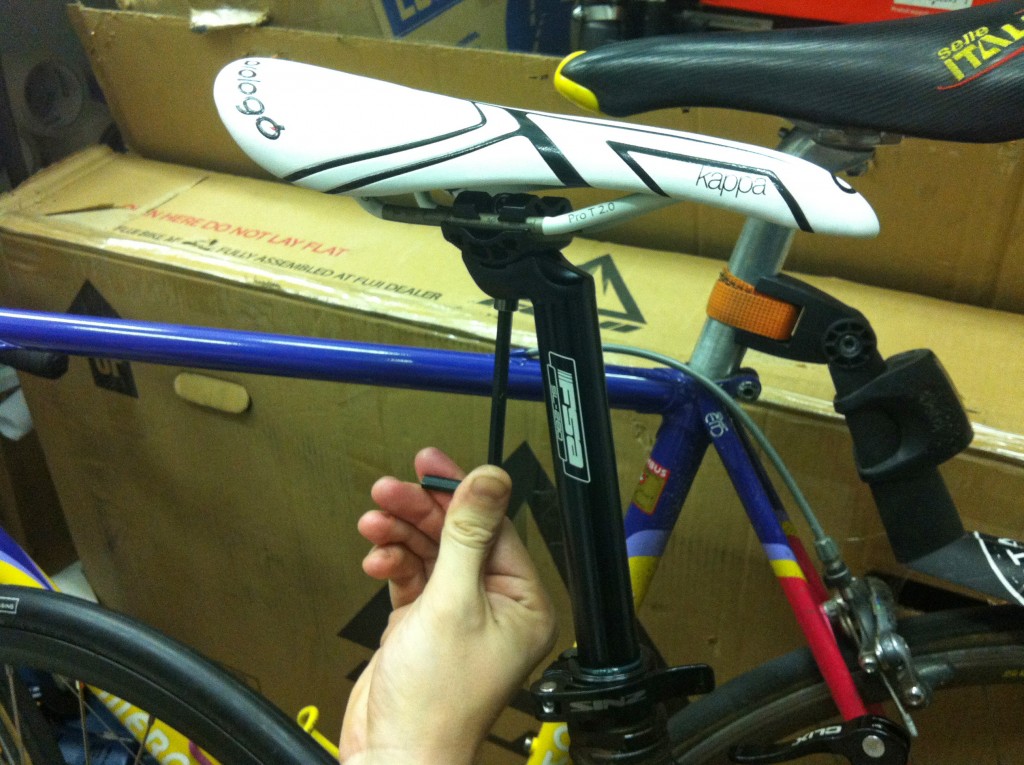
Now we can attach the saddle to the post. There are a couple different designs for the clamp that holds the saddle, but most modern posts have a removable top plate with a bolt from the bottom. The plate clamps down on the rails, which run parallel on the underside of the saddle. You can slide the saddle forward and back, and also tilt it to change the angle:
Parallel to the ground, and clamped in the middle is a good place to start. Once you try it out and see how it feels, you can start to make changes.
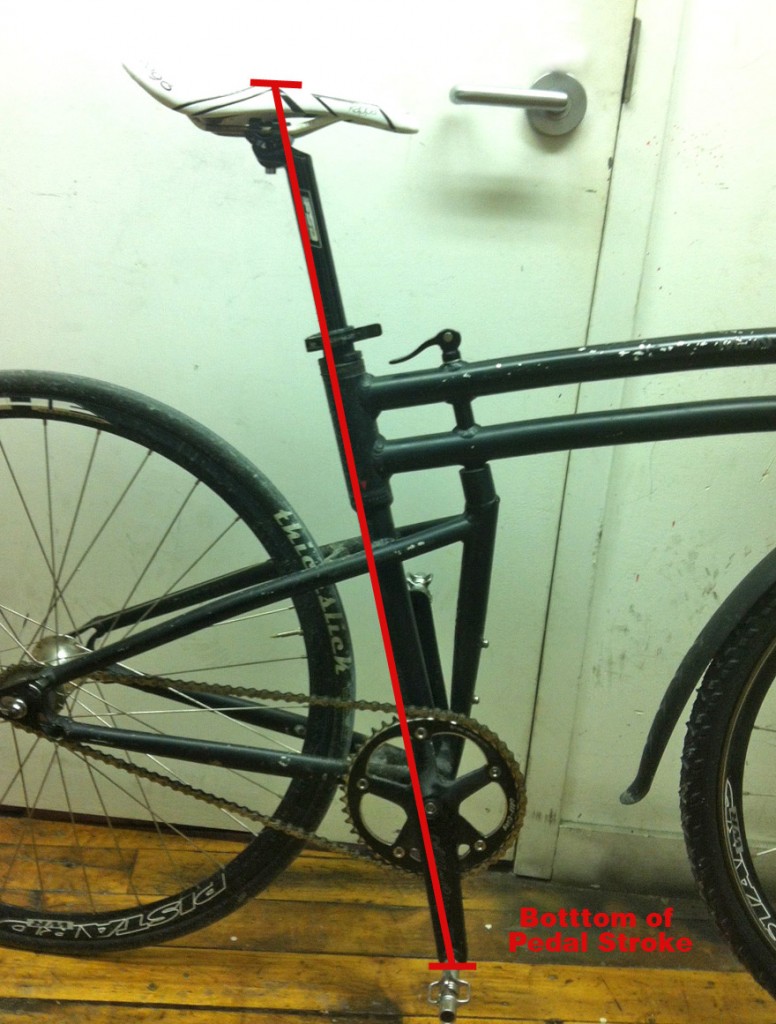
Saddle height is extremely important because it determines how far your leg extends on each pedal stroke. Have it too low, and your knee will be bent even at the bottom of the pedal stroke. You’ll experience pain in your knee and decreased power. Have it too high, and your knee will be hyper-extending at the bottom of each pedal stroke. You’ll experience pain this way too (probably in the back of your knee rather than the front) and you could do long term damage.
At the bottom of the pedal stroke, you want your leg nearly extended all the way with just a slight bend. The easiest way to set saddle height initially is to sit on the bike, and put your heel on the pedal while it’s at the bottom. Position the saddle so that with your heel on the pedal, your leg is perfectly straight, knee locked. Once you move the pedal to the ball of your foot (where it should be while pedaling), the added length of your foot should make it so your leg has that slight bend you’re looking for.
Once you can put some miles on the new setup, take note of how it feels. Pain in the front of your knee usually means your saddle is too low. Pain in the back of your knee, means it’s too high. If you are making adjustments, move in small increments. Even a few millimeters can make all the difference.
And now…my custom Boston is finally done!
If you want to see the entire process of customizing my Montague Boston, check out the previous posts on the build:
Montague Boston Overhaul: Going Custom
Montague Overhaul IV: BB and Cranks


What is the maximum rider weight for the Navigator vs the Paratrooper pro? the monotube would appear to be stronger. I am 285 pounds.
The officially listed weight capacity in our owner’s manual for all models is 250 lbs, but that’s really on the conservative side. Up to about 300 lbs is fine. It’s really the wheelset that limits weight capacity, and our frame has been tested to handle even more than that. So, you could replace the wheelset with higher spoke count wheels to handle more weight (300+ lbs) if necessary. At 285 lbs you should have no problems.
Hi there, I’m looking to replace my seatpost on the Navigator. I’m not too sure of the size, but can I assume that it’s the same as the Boston? By the way, you said it’s 30.0mm. Is it not 30.9mm?
Montague bikes from 2012 to present use a 30.0mm seatpost. If it’s pre-2012, it would be 27.2mm. If you want to use a specific post that is not available in 30.0, I would recommend getting a narrower diameter like 27.2 and using a seatpost shim: https://www.google.com/shopping/product/11377148020376686262
For the older pre-2012 bikes, is the seat tube adjustable by unlocking the lock nut and adjusting the seat tube that is slightly narrower than the frame?
The seat tube is too high even with the seatpost at the lowest setting and I wondered if this part of the bike was adjustable?
Unfortunately, no. That piece is the seat tube from the rear half of the frame which extends up through. The front half of the frame simply slides down over it.
So I just purchased a Paratrooper Pro (June 2021). I haven’t even taken it for a ride yet. I’d like to replace the seat, but it seems that the seat is bolted down so tightly that I can’t loosen the screw even when using an appropriately sized allen wrench. Is this normal? I don’t need to purchase a new seatpost, do I?
There’s normally a fair bit of torque on that seat clamp bolt, but it certainly should be possible to remove it and swap the saddle. If you’re not able to do it with the hex key you have, a local bike shop should be able to loosen it. Feel free to give us a call if you’d like to discuss – 800-736-5348
We have two legacy Montagues–original BiFrames from before the Schwinn involvement.
The bikes are in good shape but their saddles need renewal.
I don’t see any replacement seats on your store. Are they available? It would be nice to stick with Montague equipment.
Hi Kathy. We only sell a handful of parts individually, which are mostly the pieces specific to our bikes. Unfortunately, we do not sell saddles. While the saddles that come on our bikes might have a Montague logo printed on them, they’re not specific to our bikes. Any standard bicycle saddle should have the same rails underneath for mounting to the seatpost on your bike.