The gravel bike. A 700c road style frame with fast rolling knobbies that can take you just about anywhere; dirt roads, gravel roads, singletrack, you name it. When you want to follow those fire roads and escape into the wilderness, the gravel bike is the choice for your adventure ride. The Montague FIT Custom is a great folding road bike frame, but it comes equipped with disc brake mounts on the front and rear, so it also makes for an excellent folding gravel bike.
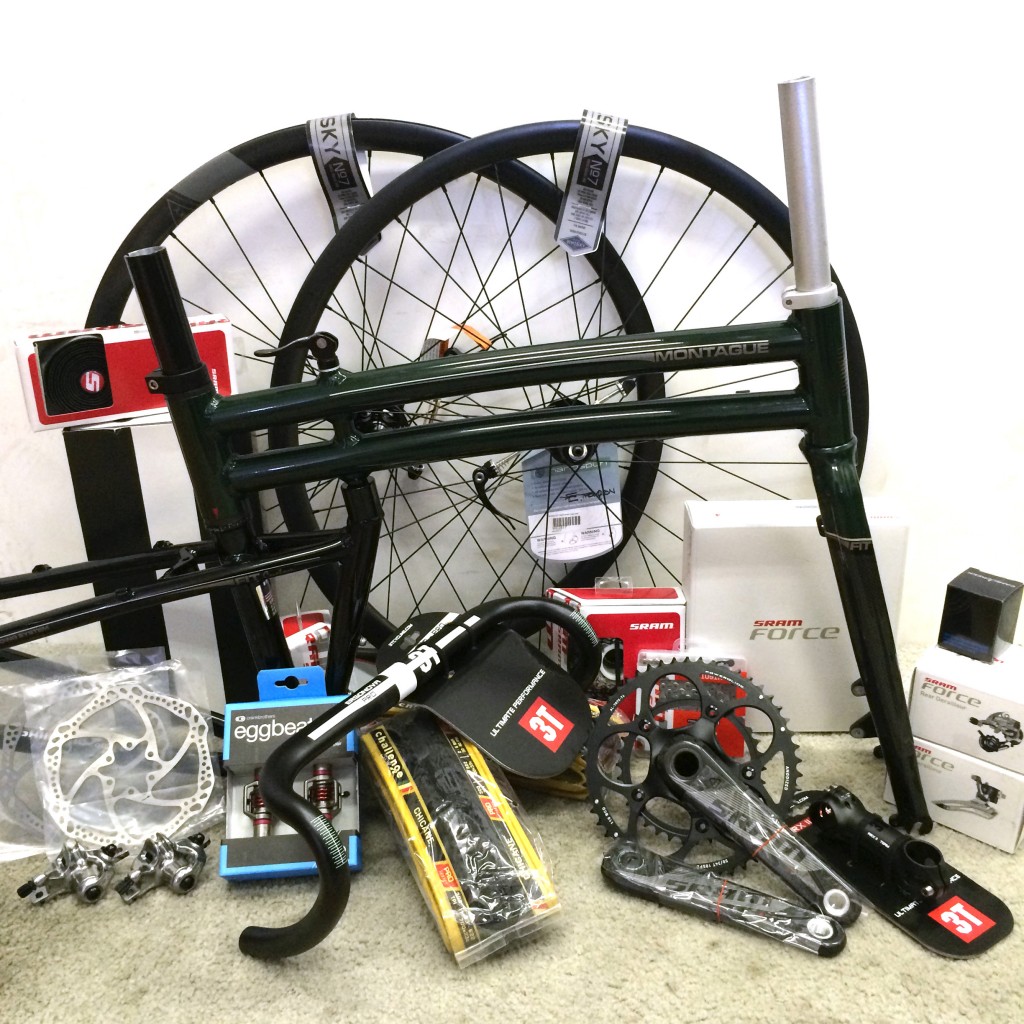 This build is custom from the ground up, no stock parts from the Montague FIT, so I can show you every detail as I put the bike together. Let’s take a look at a parts list to start:
Montague FIT Custom frame
FIT Carbon Fork with disc mount
Whisky Parts Co Wheelset
Whisky Parts Co No. 7 carbon clincher rims
SRAM X9 Disc compatible hubs w/ 10-Speed cassette body
Hayes CX Pro disc brakes w/ Hayes 160mm rotors
Challenge Chicane 33c tires
SRAM S950 Crankset 50-34
Truvativ/SRAM Team GXP bottom bracket
SRAM Force Double Tap shift/brake levers
SRAM Force 10-Speed Rear Derailleur
SRAM Force 10-Speed Front Derailleur
SRAM PG-1050 10 speed 11-28 Cassette
SRAM PC-1091R 10 speed Chain
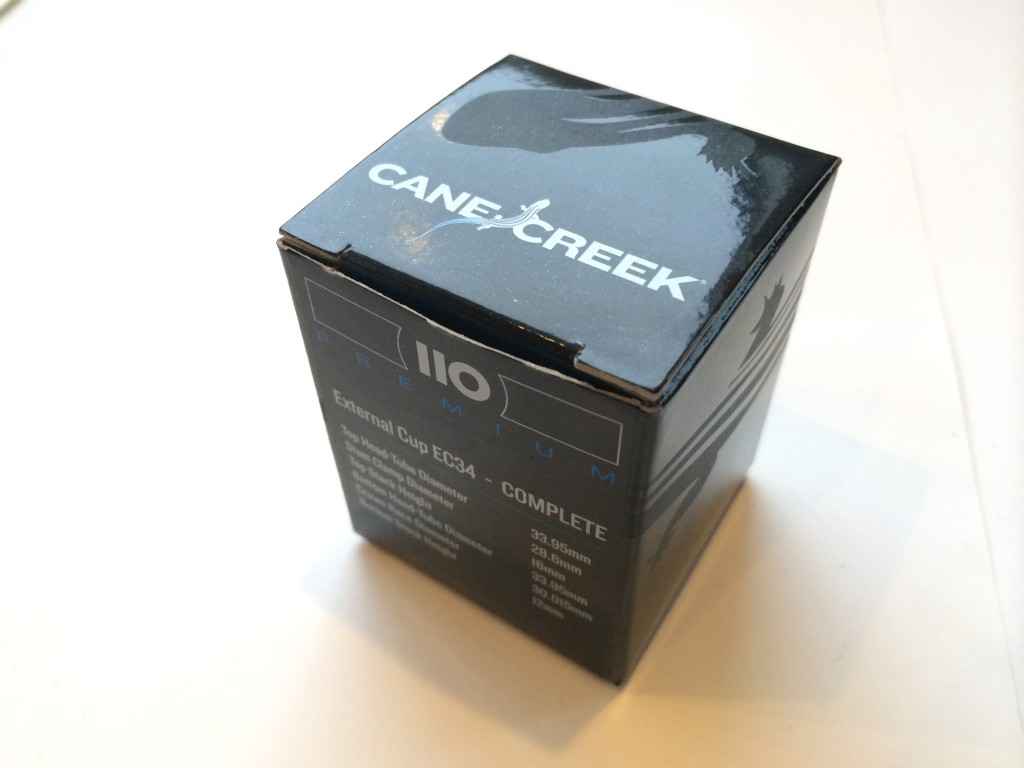
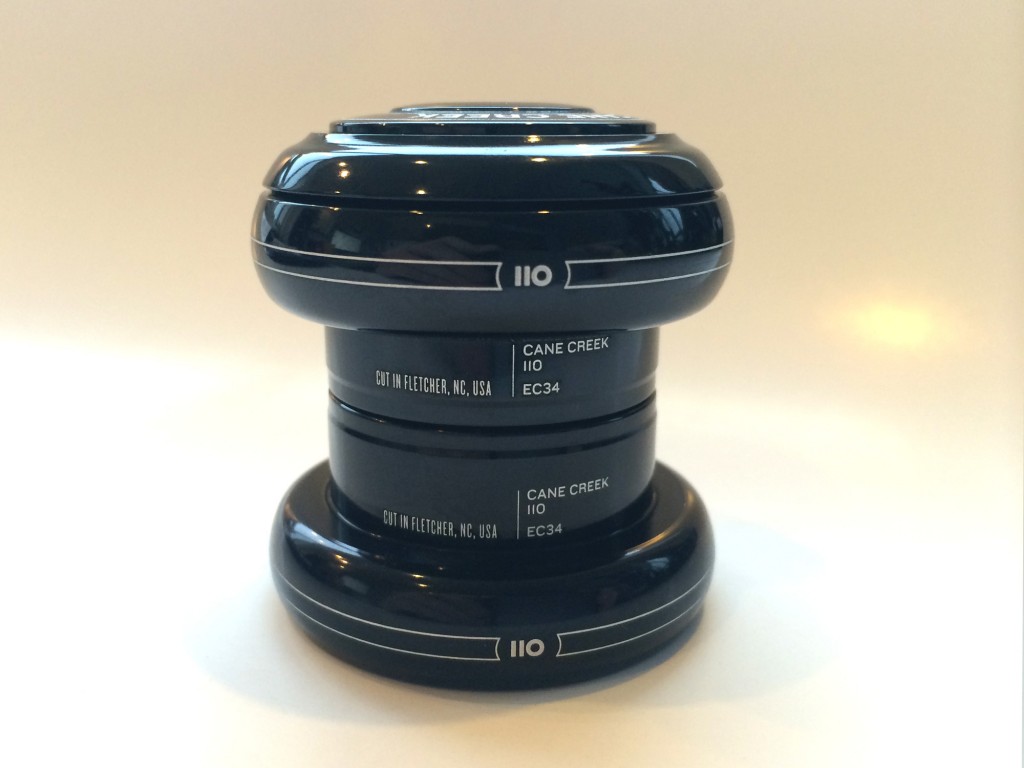
Cane Creek 110 Headset
3T Ergonova Pro Dropbars
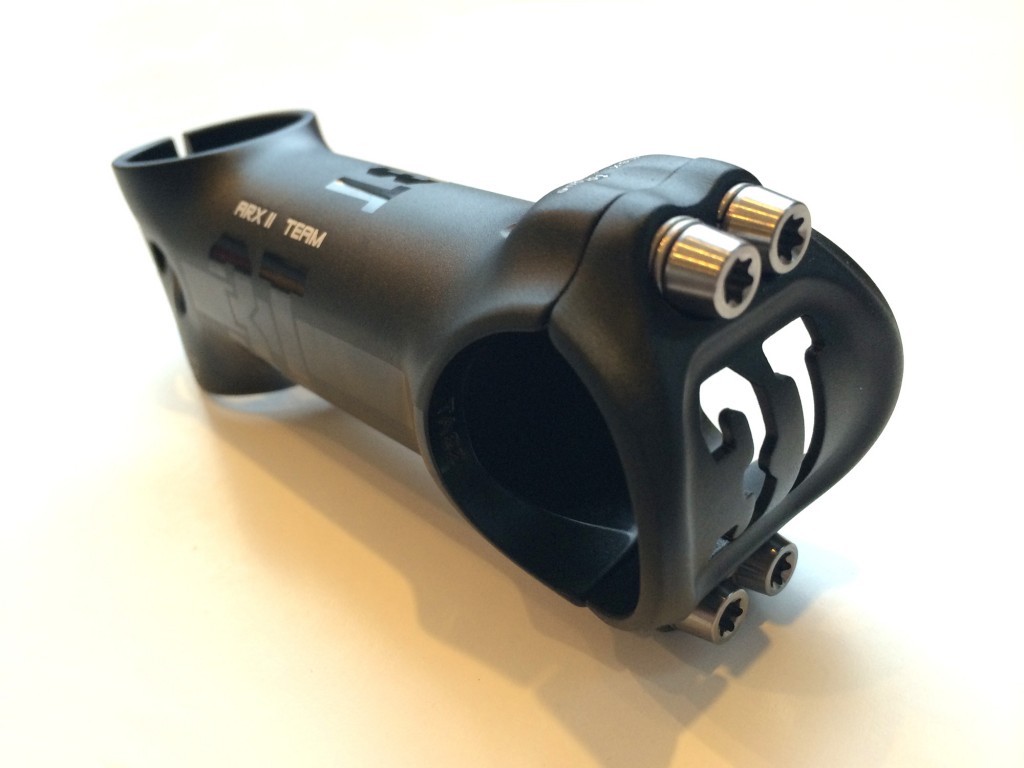
3T Arx II Team Stem
SRAM Bar Tape – Tacky
Fizik Arione Versus Saddle
Crank Brothers Egg Beater 3 Pedals
The first step for me was to install the headset, and get the fork properly installed in the frame.
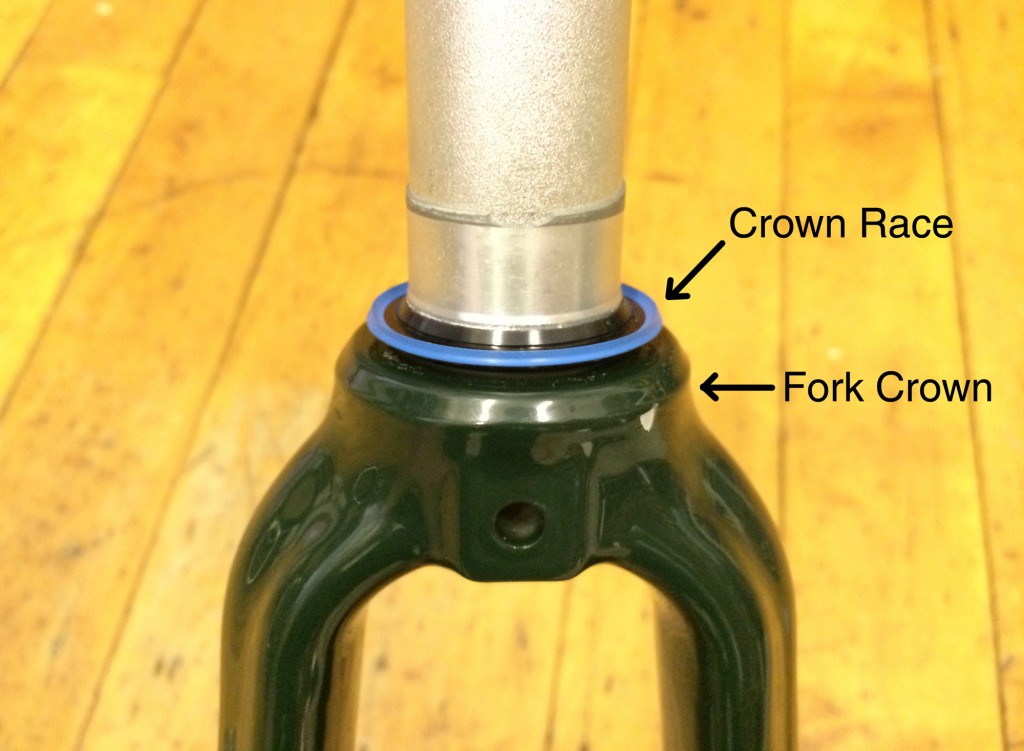
The lower most part of the headset assembly is called the Crown Race. It’s press fit around the bottom of the fork’s steerer tube and rests just above the fork crown. This provides the surface for the lower headset bearings to rotate against.
Installing a crown race is simple, but you will need a tool (luckily it’s also a simple tool). Slide the Race down around the steerer tube until it gets to the wider section at the bottom. Once it reaches this spot it will take substantial force to press it on. A crown race tool is really just a pipe with a slightly wider diameter than the steerer tube itself. It slides around the steerer as well, and allows you to hit the crown race down. It’s not recommended that you hit it with the fork ends on the ground, so hold the fork under the crown with one hand while you do it. A few hard strikes with the tool should push the Race down flat against the top of the fork crown.
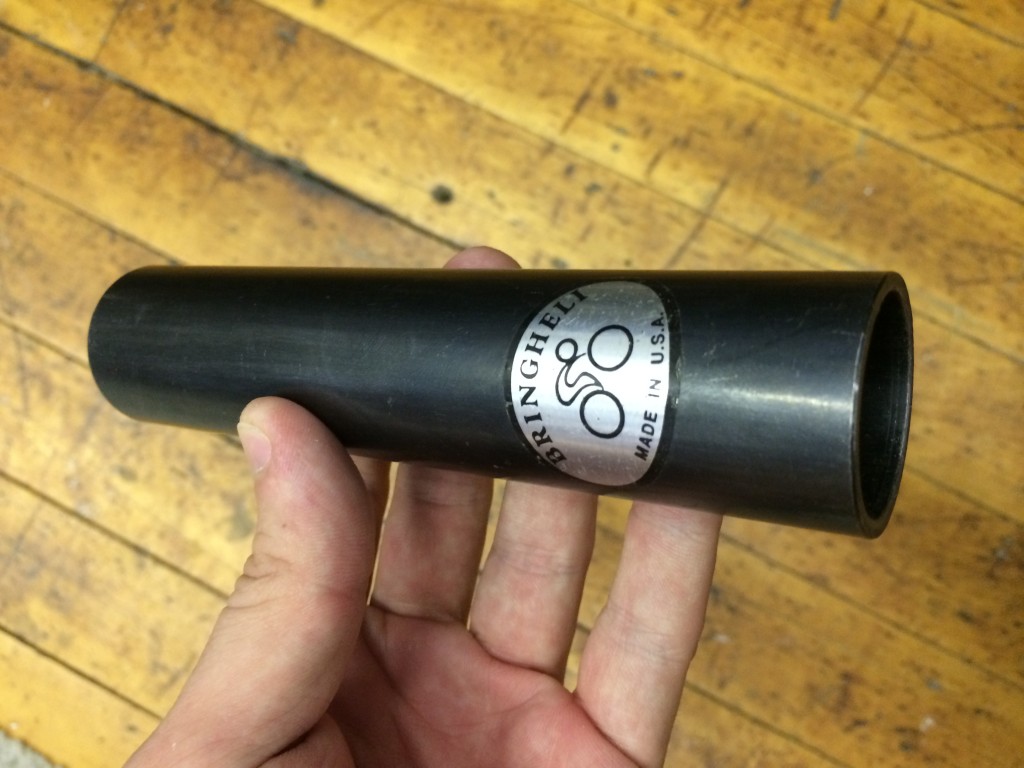
Most bike tool manufacturers make specialty crown race tools with fittings for the bottom to accommodate different size crown races. These prevent damaging the crown race. Here is a crown race tool (slide hammer) made by Bringheli. As you can see, there isn’t much to it.
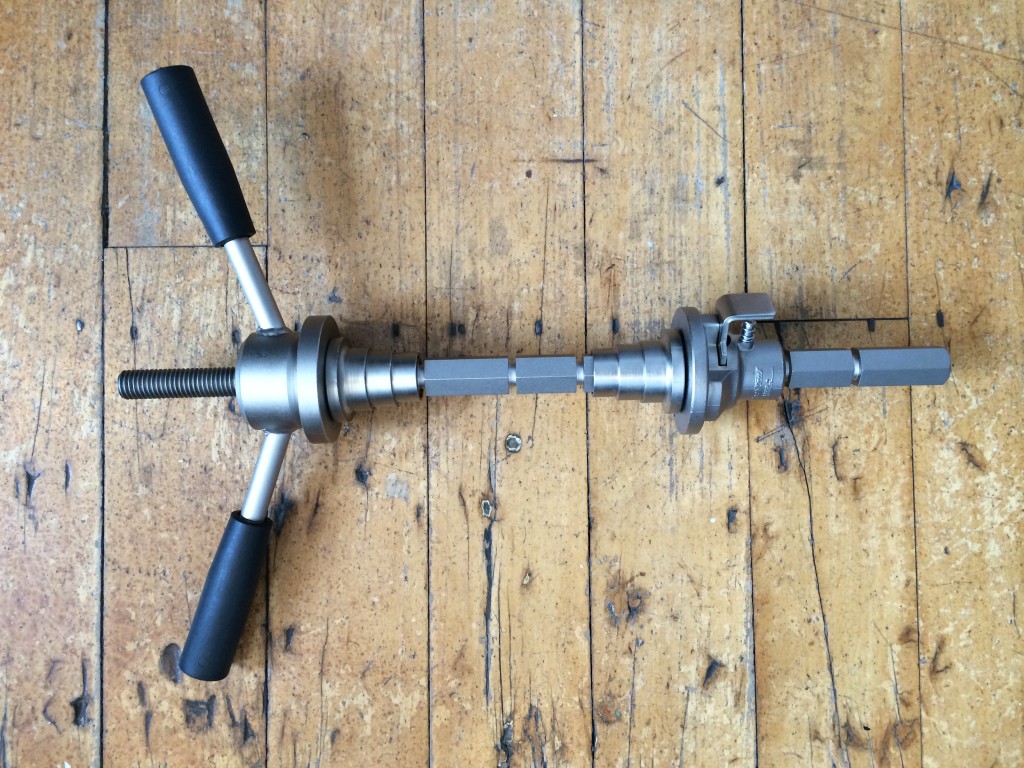
 Next, the headset cups where the bearings actually rest, need to be installed in the frame. These are also press fit, and require a specialized tool for installation, the headset press:
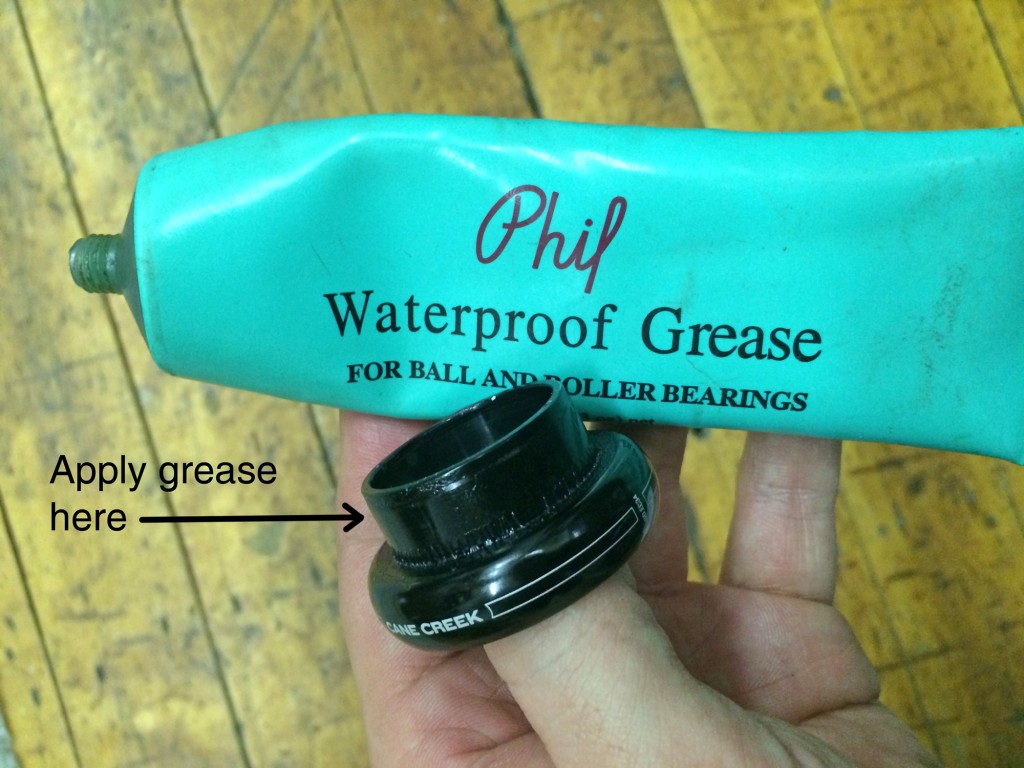
You’ll be installing the cups one at a time, starting with the lower. Begin by adding a thin layer of grease to the flange of the cup.
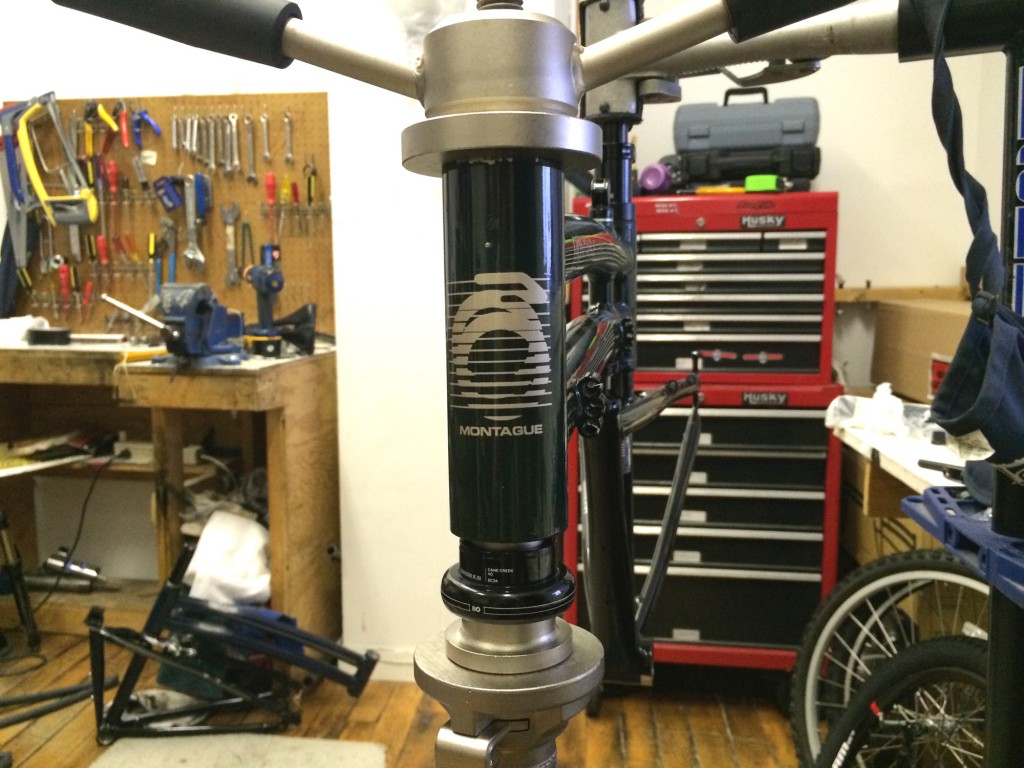
Remove the bottom plate of the headset press, and insert the press through the head tube of the frame. Slide the bottom plate back on with the lower headset cup in place above it. Turning the handles on the top clockwise will tighten down the press and force the cup into the head tube of the frame.
Repeat the process with the top cup, and you’re ready to install the fork. Once the fork and bearings are in place, there are two pieces to the headset that go on top, the wedge and the upper race. The wedge ensures that when the headset is tightened down, the steerer tube can’t move at all side to side. The upper race acts as a cap to the sealed system, and like the lower race, provides a surface for bearing to rotate against.
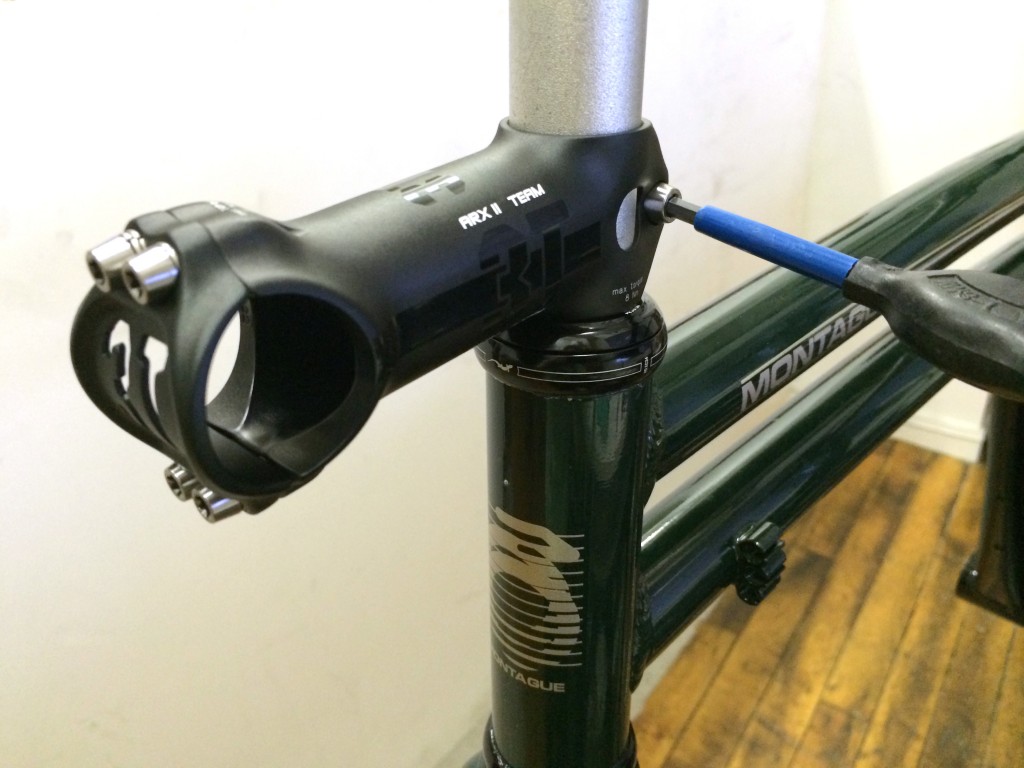
I’m not ready to cut the fork’s steerer tube to length quite yet, but I still clamped on the stem in order to hold everything in place.
With the fork now turning smoothly in the frame now, it’s time to move on to another component set. Stay tuned to see what’s next!



Nice pile of parts there. I see you have 33c tires, could you fit anything larger on that frame?
That’s going to be one sweet bike when you’re done. How do the drop bars work out when you fold it? I have mustache bars on my Montague and they work great by just threading through the rear wheel when it folds. Awesome bikes – I ride my everywhere! And I take it everywhere too.
Hey DennyOz,
You could fit a slightly larger tire on the front with that fork, probably a 35c, but the clearance on the back is tight. The chainstays have room, but the brake bridge is pretty close to these 33c tires. Luckily, lots of CX tires are available in 33.
@Christoper,
The drop bars do make the folded size a bit wider, but I can still fit it in my car trunk! For longer travel, you could undo the stem bolts, and packing it up is still a lot easier than dealing with S&S couplers.
I have sram pg 1130 (11-42t cassette fits 10 and 11-speed non-XD™ driver bodies (1.85mm spacer is required for 11-speed drivers)
This cassette compatible with montague navigator wheelset?
While we haven’t tested that exact setup, 9 and 10 speed cassettes use the same freehub body. The stock setup on the Navigator is 9 speed, so the cassette you have should work if it fits 10 speed freehubs.
Any plan to ever finish this series?
The final post with crank installation and finishing touches like bar tape, saddle, etc., was never published, but there are two more posts after this one about the build:
https://www.montaguebikes.com/folding-bikes-blog/2014/06/folding-gravel-bike-build-part-2/
https://www.montaguebikes.com/folding-bikes-blog/2014/06/folding-gravel-bike-disc-brakes-and-drop-bar-levers/
And a few posts with the complete bike:
https://www.montaguebikes.com/folding-bikes-blog/2014/08/gravel-getaway-on-a-custom-montague-fit/
https://www.montaguebikes.com/folding-bikes-blog/2016/01/mixed-surface-ride-on-a-custom-montague-fit/